


The Skymaster Northrop T-38 Talon Project of 2019
 02-13-2019, 05:11 PM
#126

Not sure what my T-38 weighs. Here are a few detail things you can do 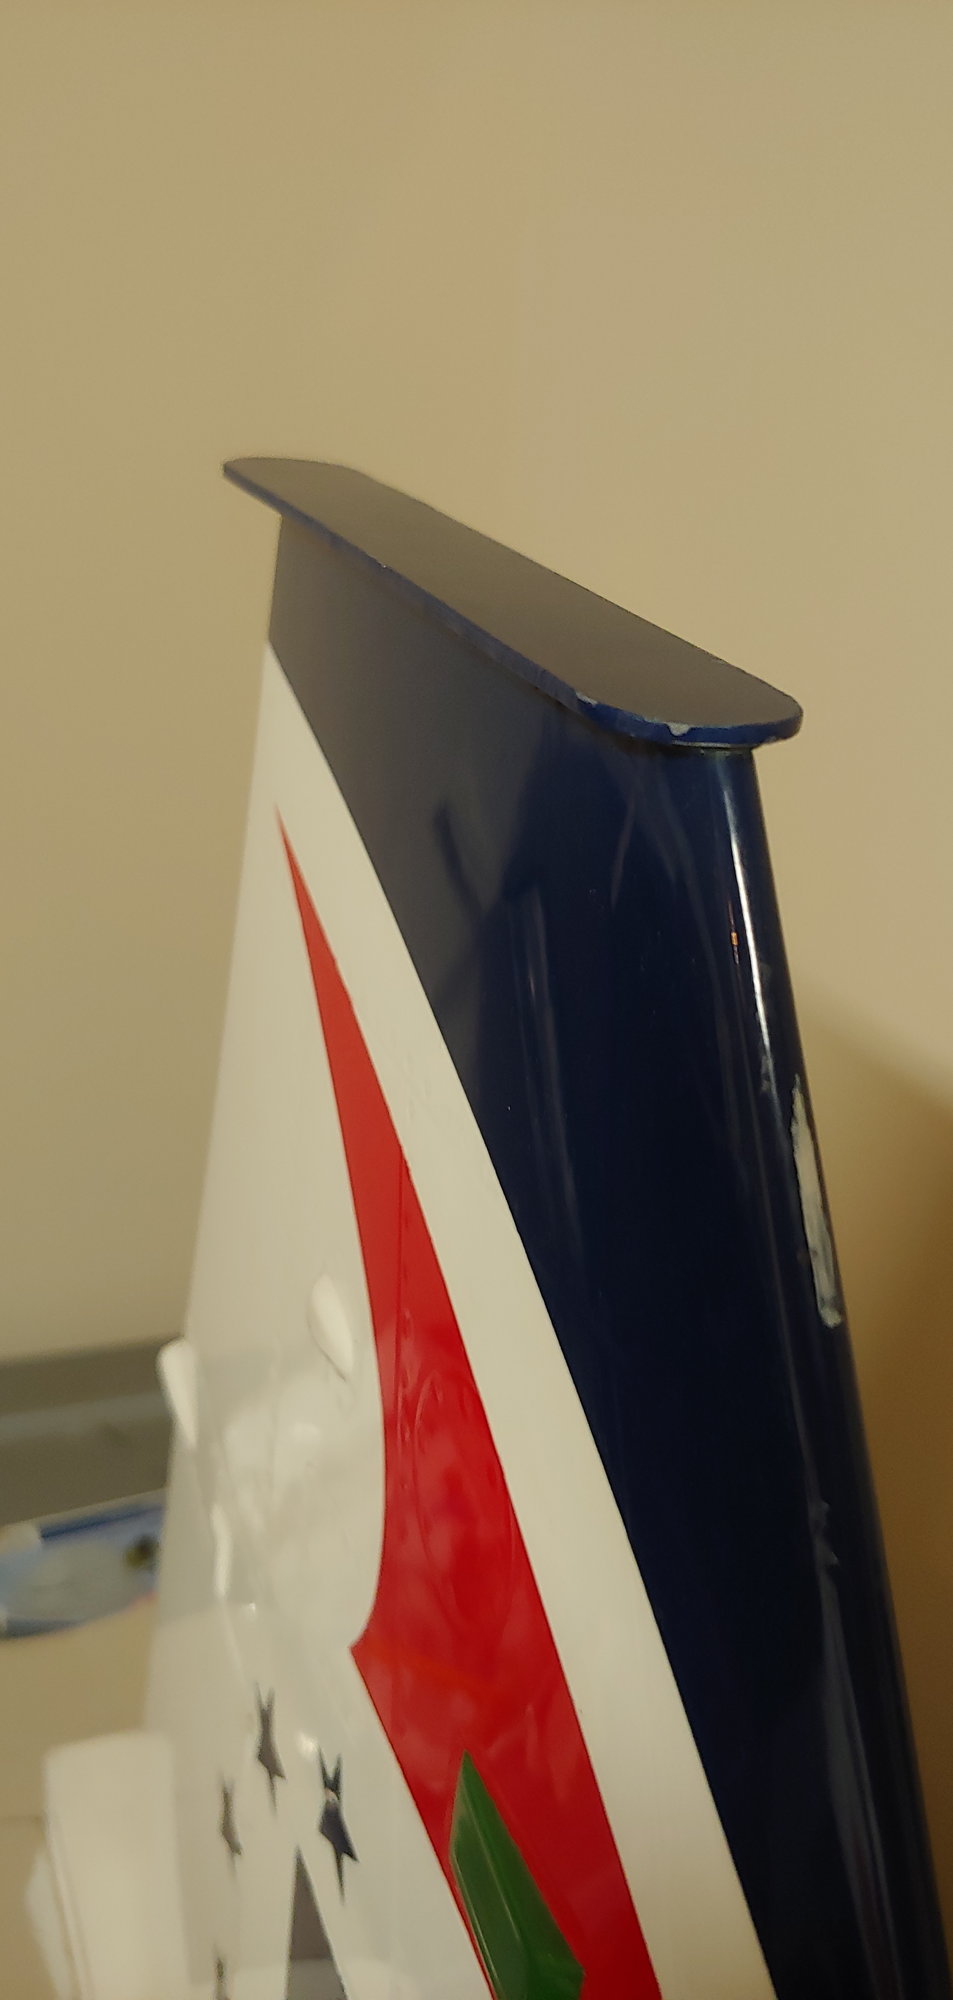
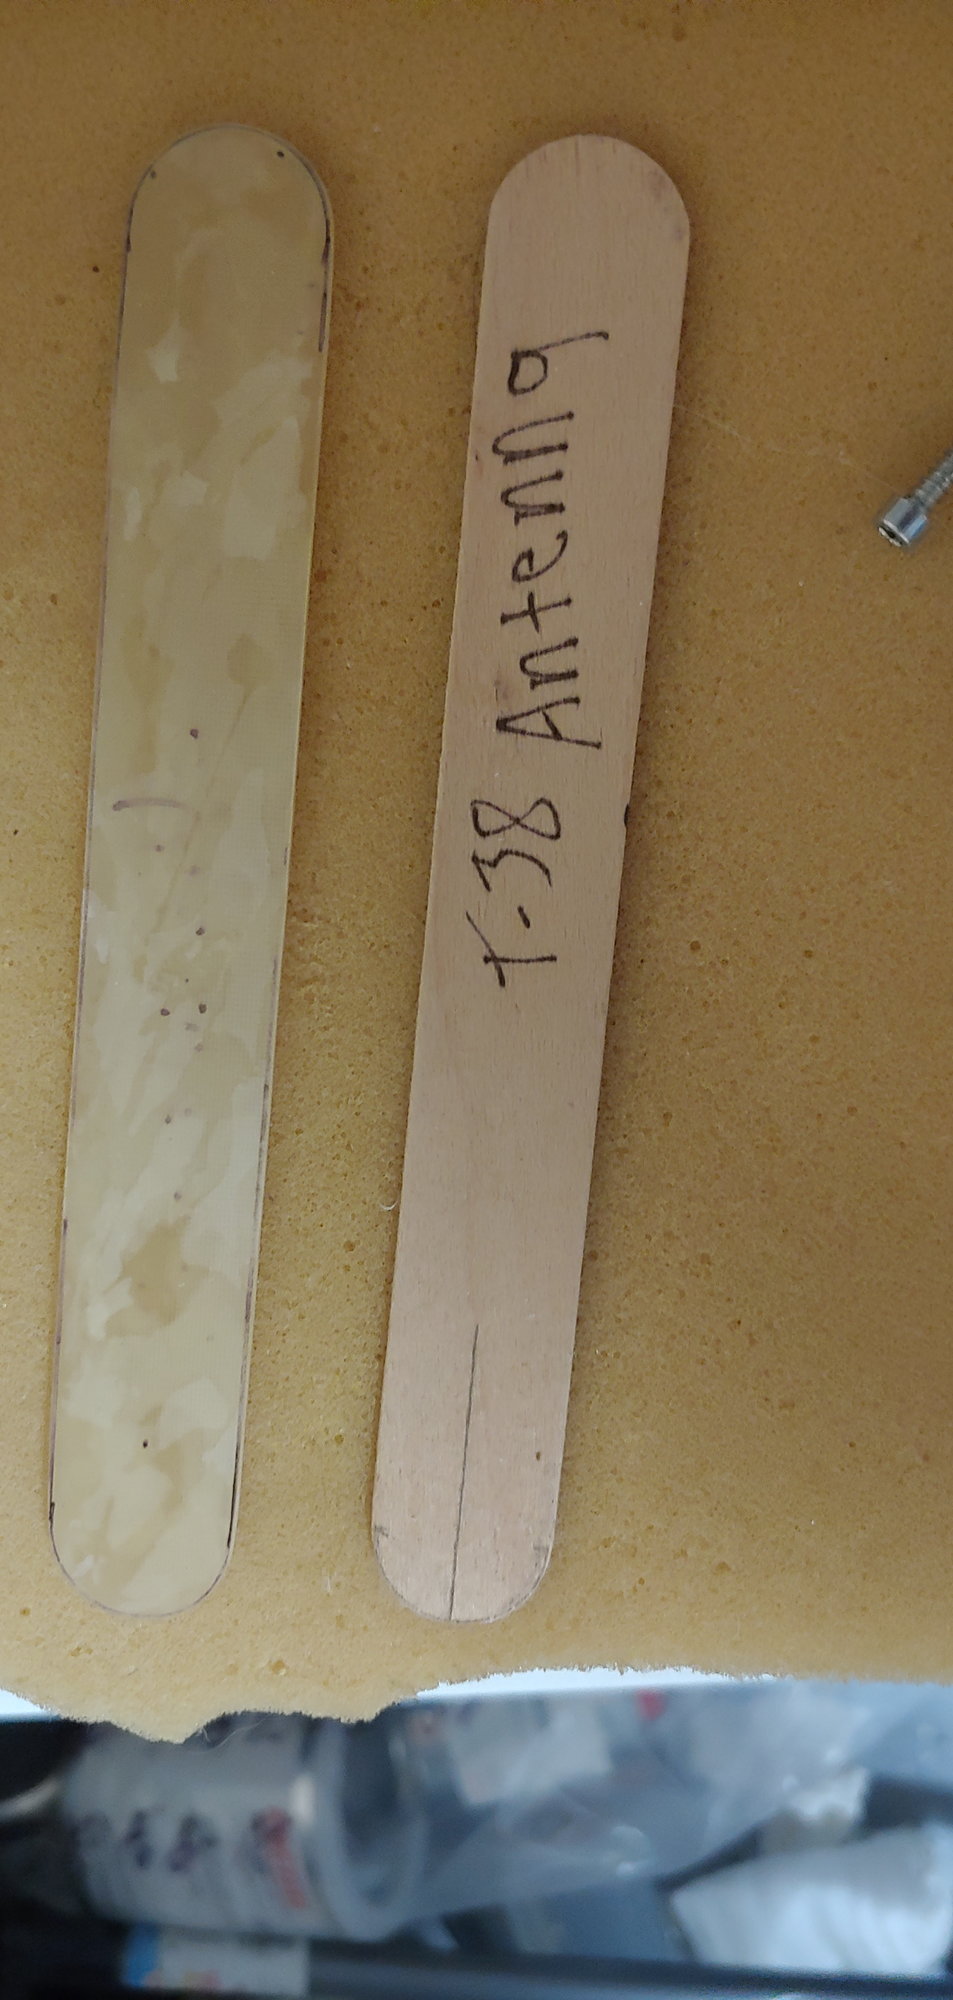
The big toung depressor makes the perfect antenna for on top of the verticle stabilizer .I just traced it on some G10 material
The big toung depressor makes the perfect antenna for on top of the verticle stabilizer .I just traced it on some G10 material

 02-14-2019, 11:23 AM
#129

Thread Starter
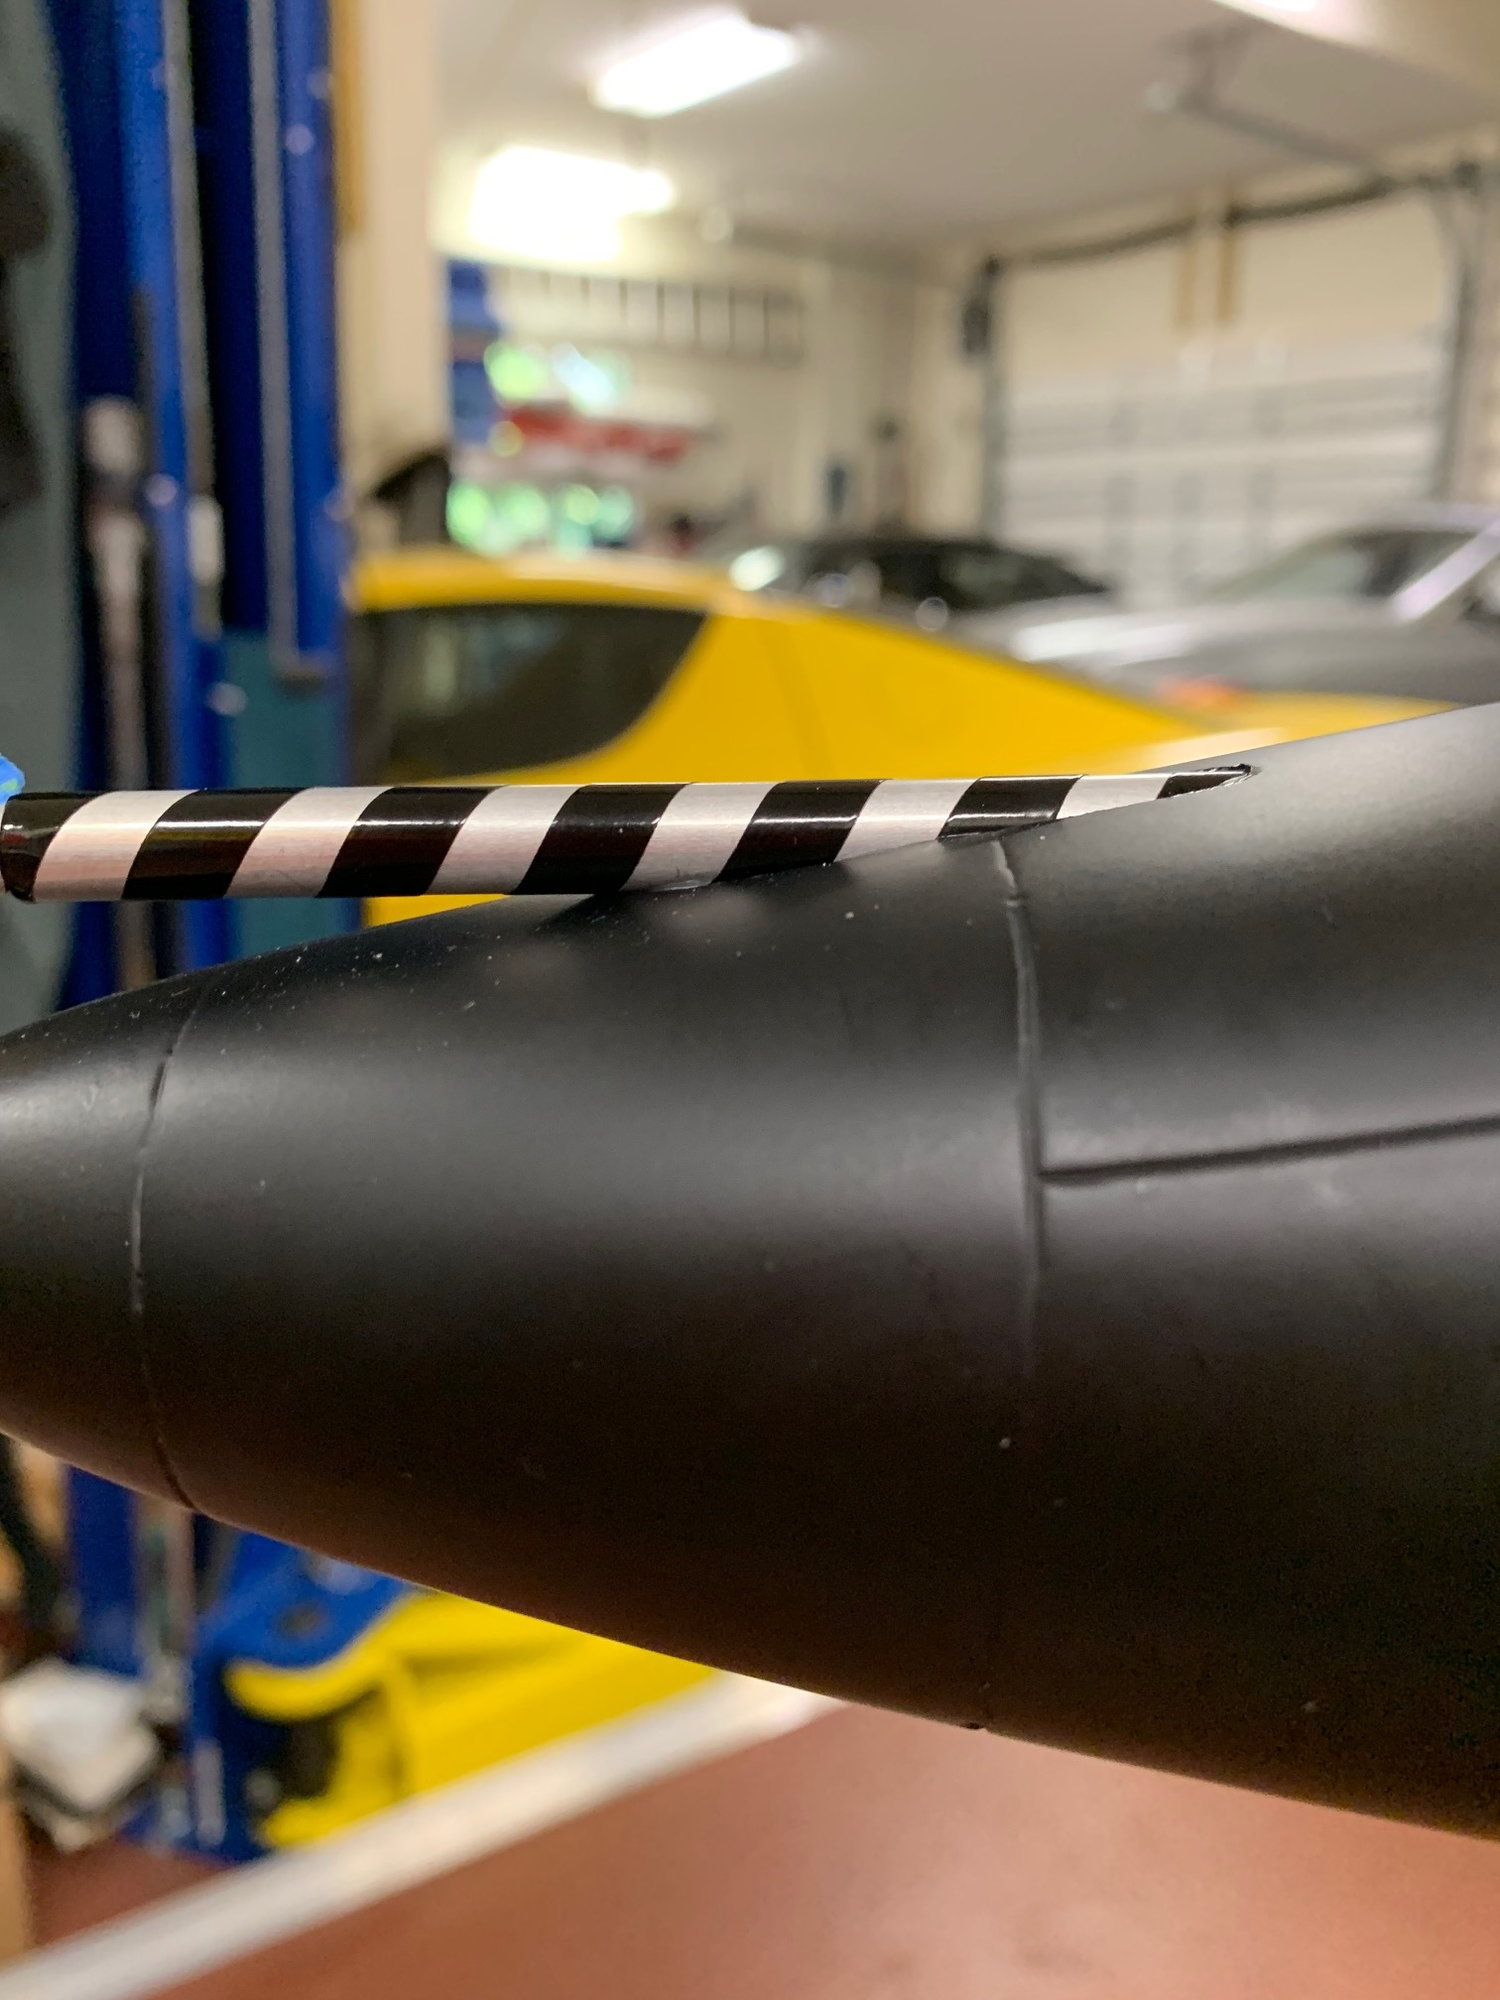
Right now the actual pitot tube is telescoped into the extension tube so it is not sticking out while I am working around the model. Eventually I will use just a sliver of masking tape to make a tight fit when extended to the proper distance. You want the pitot tube to be able to be pushed back inside the extension tubing if somebody bumps into it. Ask me how I know this feature should be designed into the model.

Last edited by aehaas; 02-14-2019 at 02:23 PM.
02-15-2019, 01:03 PM
#130
Thread Starter
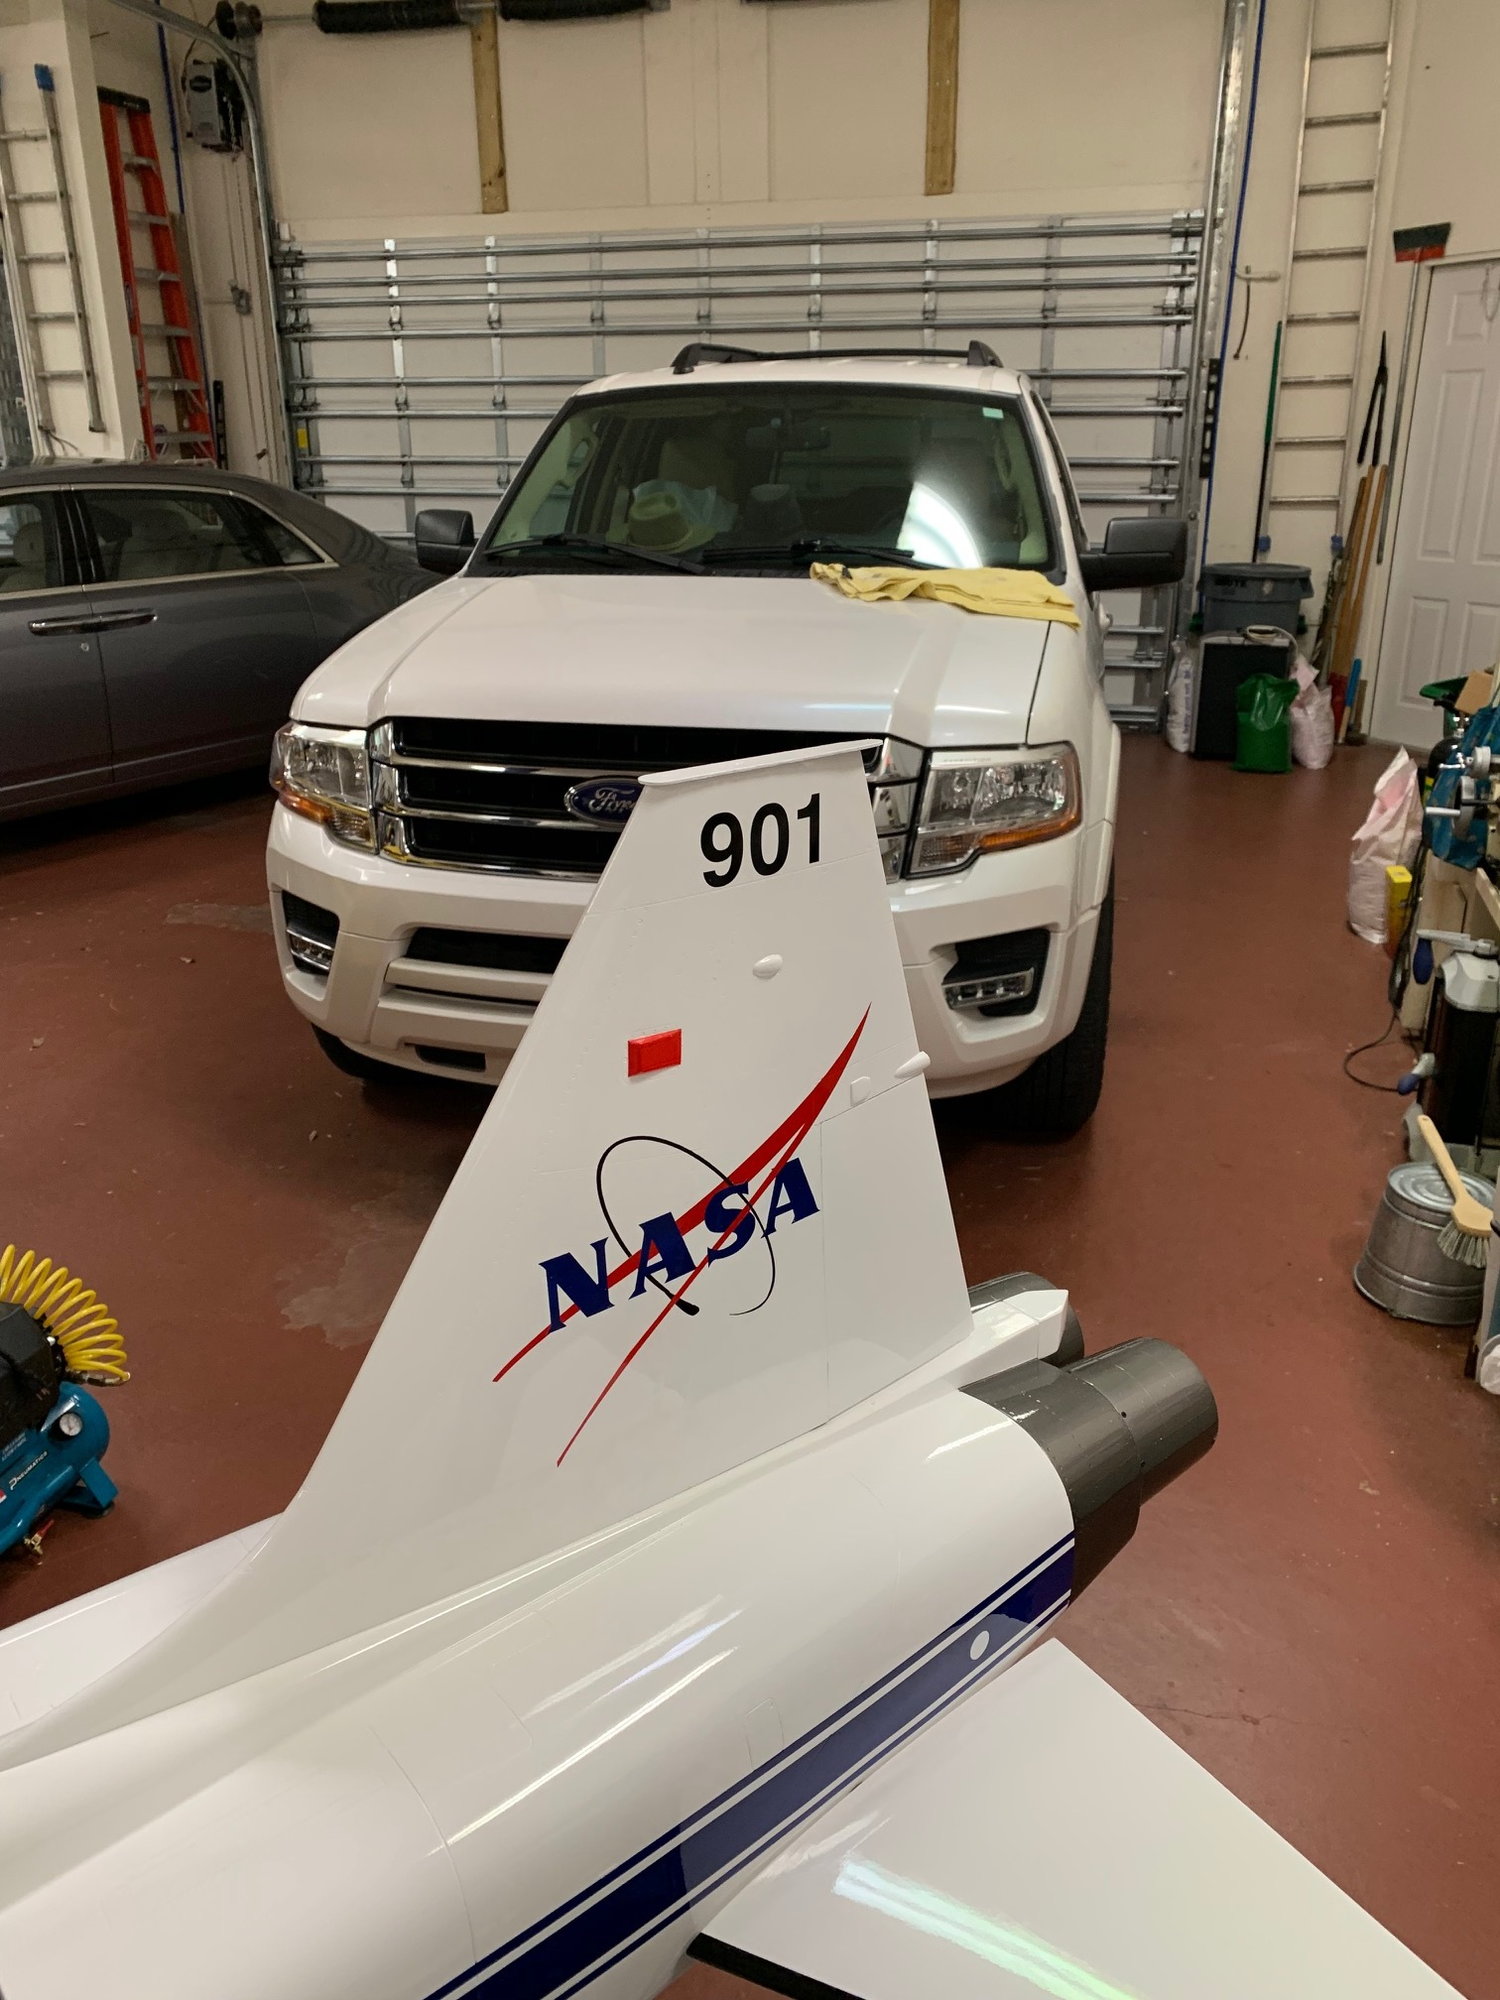
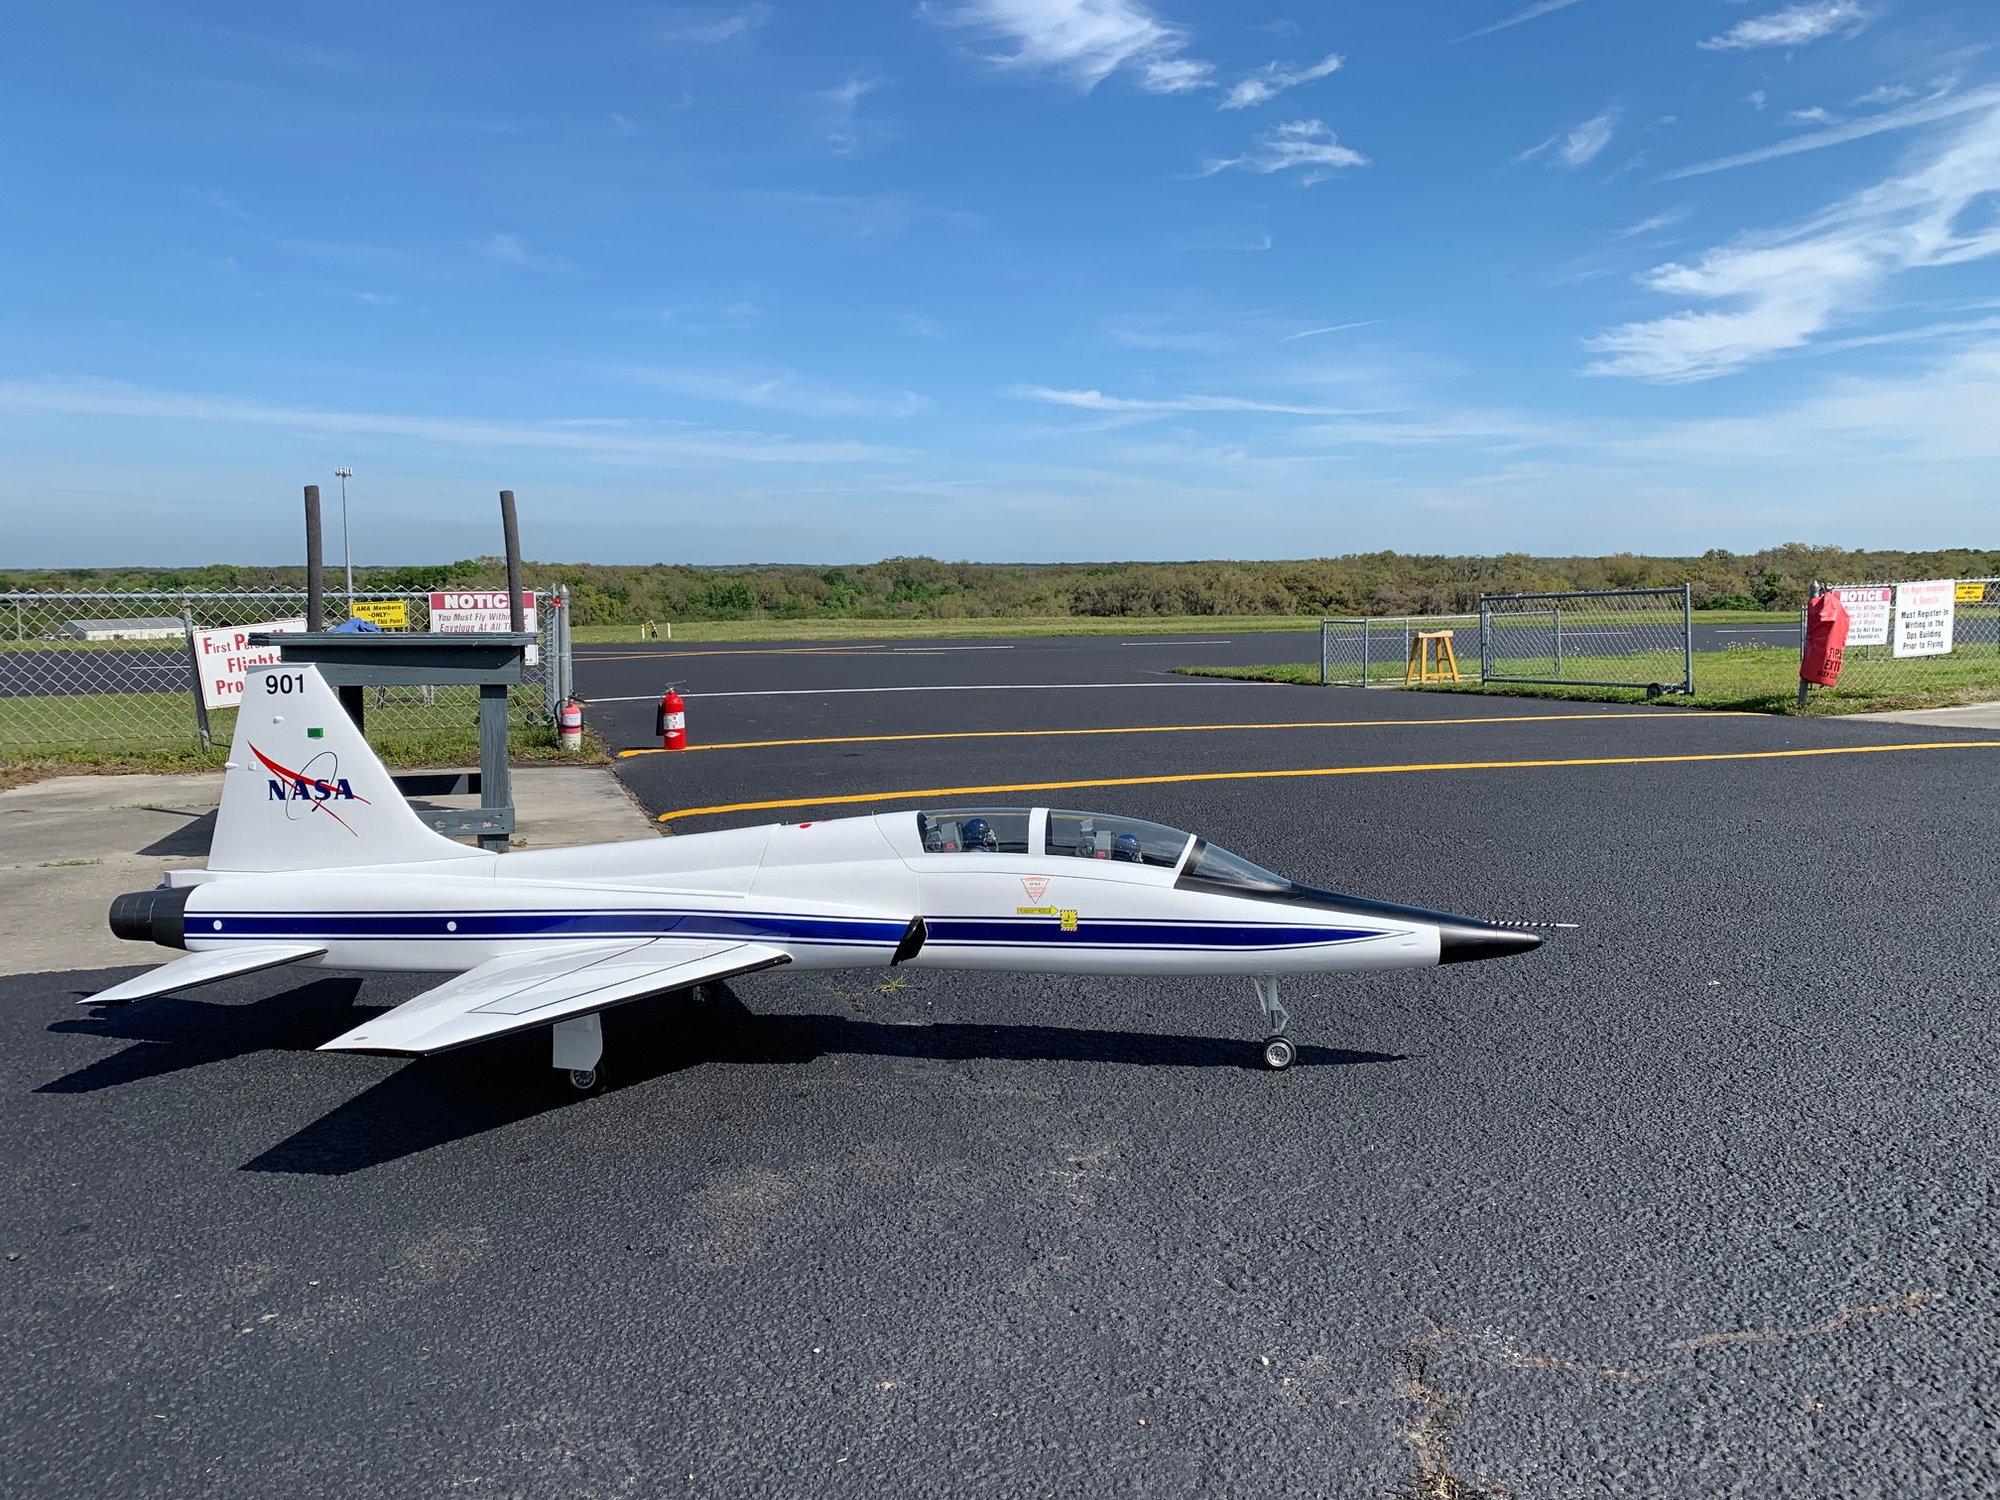
I liked the tongue depressor idea and here it is along with the tail number 901.
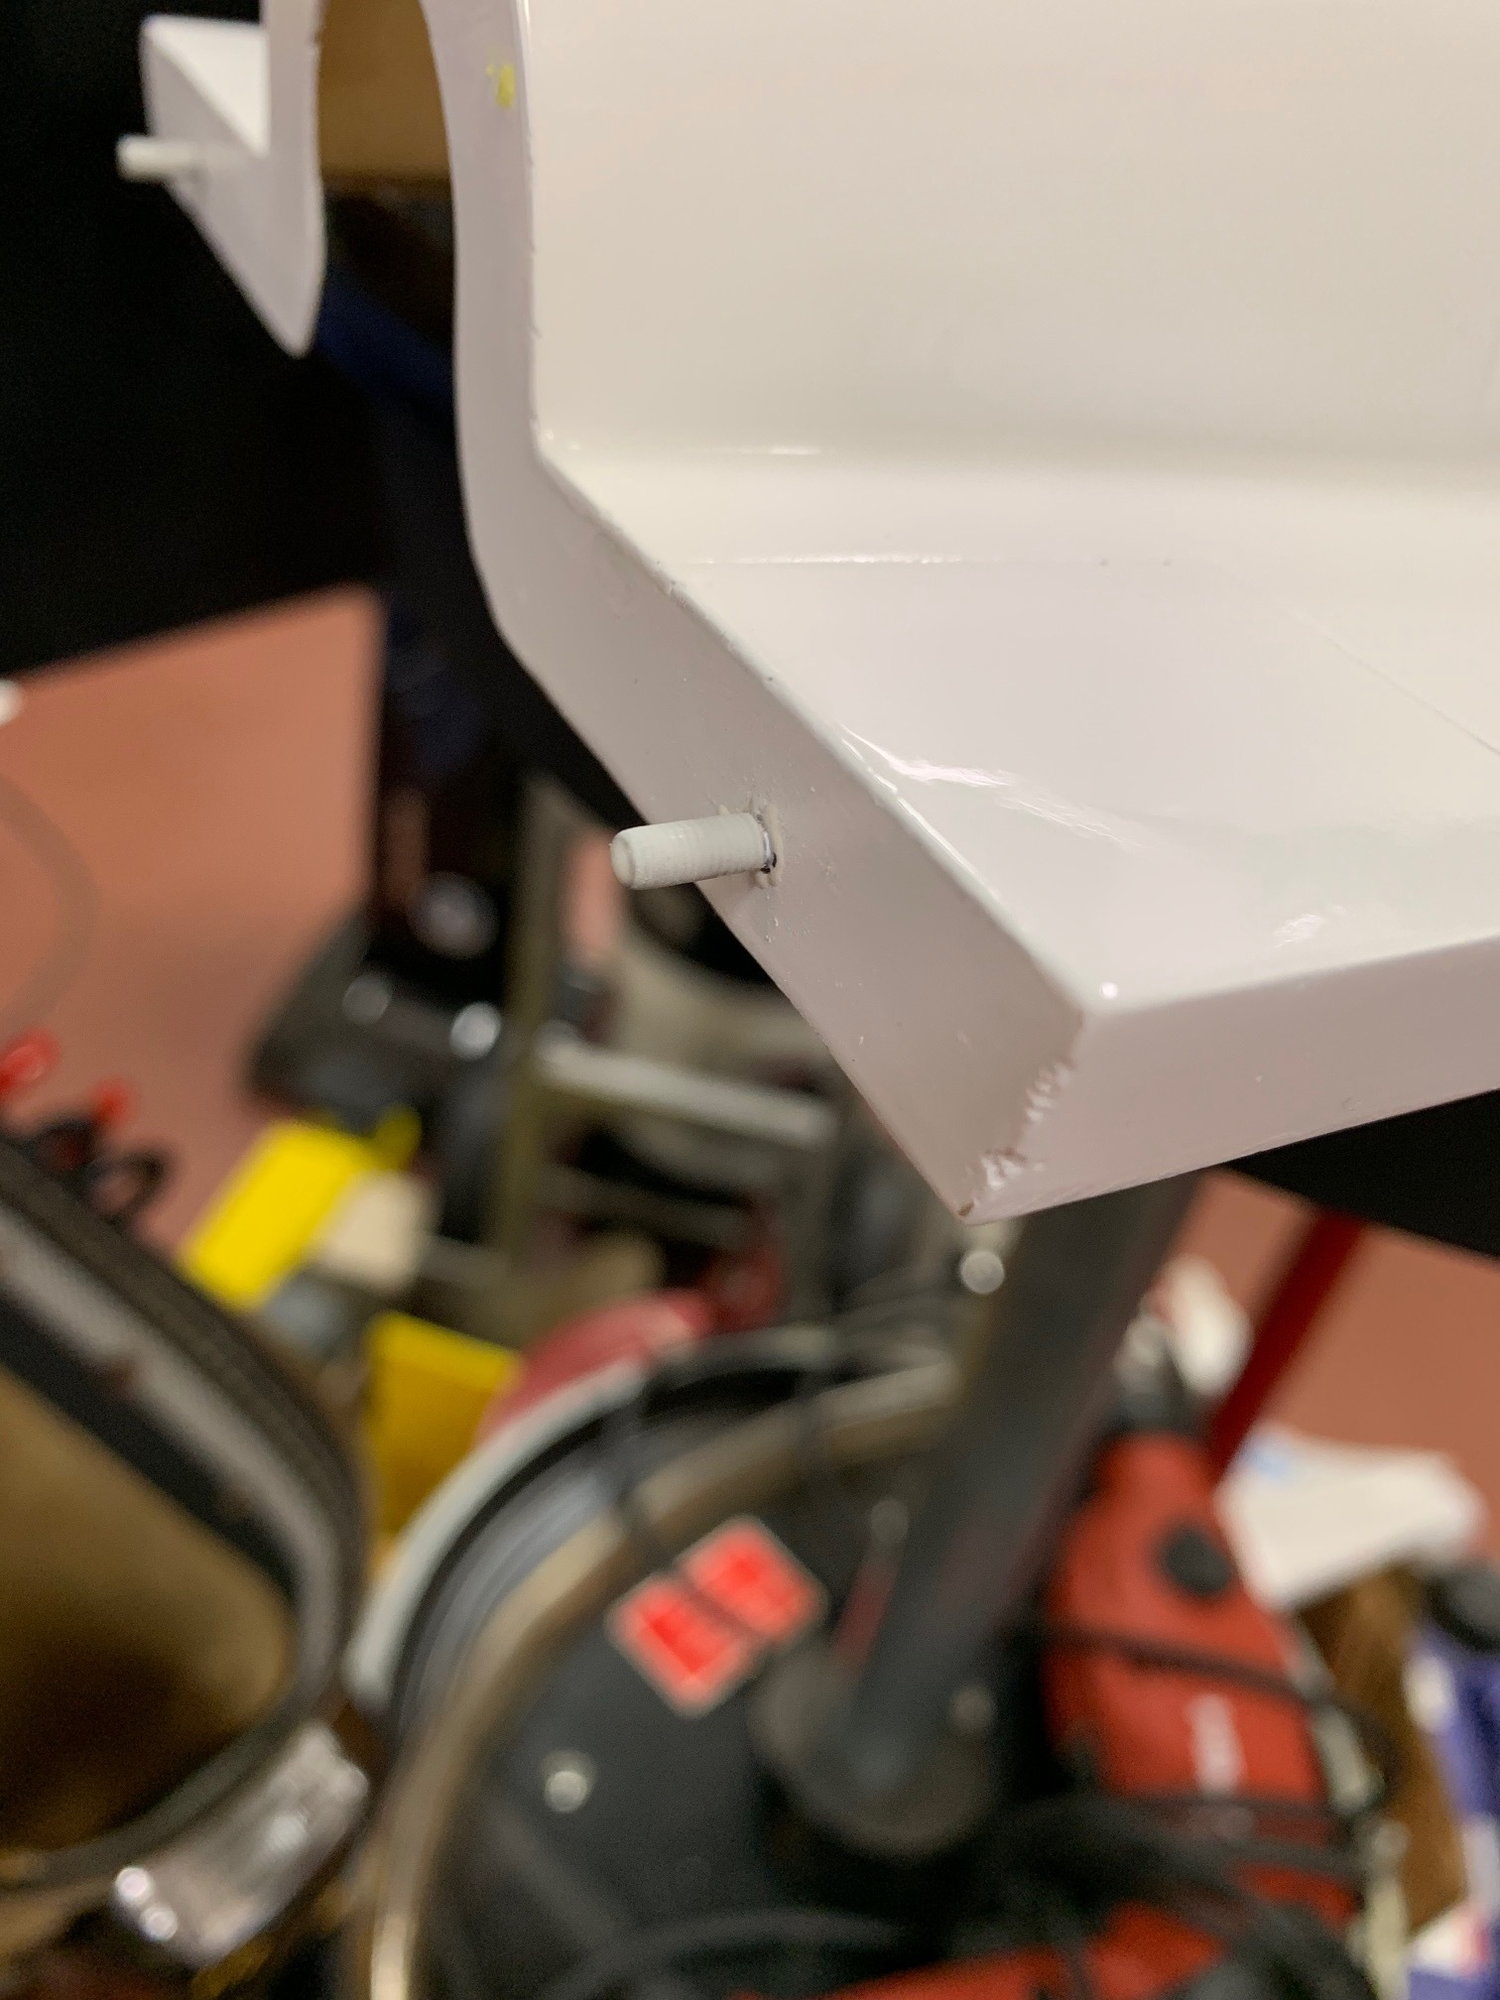
I also did some work on the pegs of the engine cover and canopy. The pegs were ribbed. It seems as though they might wear the holes larger with time. So I covered them with epoxy. I did need to sand them down a bit but it is a nice fit now and should not result in an oversized hole with time.

I also did some work on the pegs of the engine cover and canopy. The pegs were ribbed. It seems as though they might wear the holes larger with time. So I covered them with epoxy. I did need to sand them down a bit but it is a nice fit now and should not result in an oversized hole with time.
02-16-2019, 01:52 PM
#131
Thread Starter
While I am waiting to fly the Turbinator and then maiden the T-38 I am still going over the new plane with a fine toothed comb. When I put the 901 decals on the top of the vertical fin I noticed something. The fin was not ridged enough side to side to my liking. I did weaken the fuselage at the back of the engine cover opening. This is just in front of the leading edge of the fin. It was cut out to be able to insert the tail pipe.
I decided to inset a plywood former here to reconstruct the bulkhead. I will also place a carbon fiber "T" bar a little further back on the inner top of the fuselage. It will be at the first pin of the tail fin. If I need to bore things out again for working on the tailpipe I now have a basis to bolt a cross member and restrengthen the bulkhead.
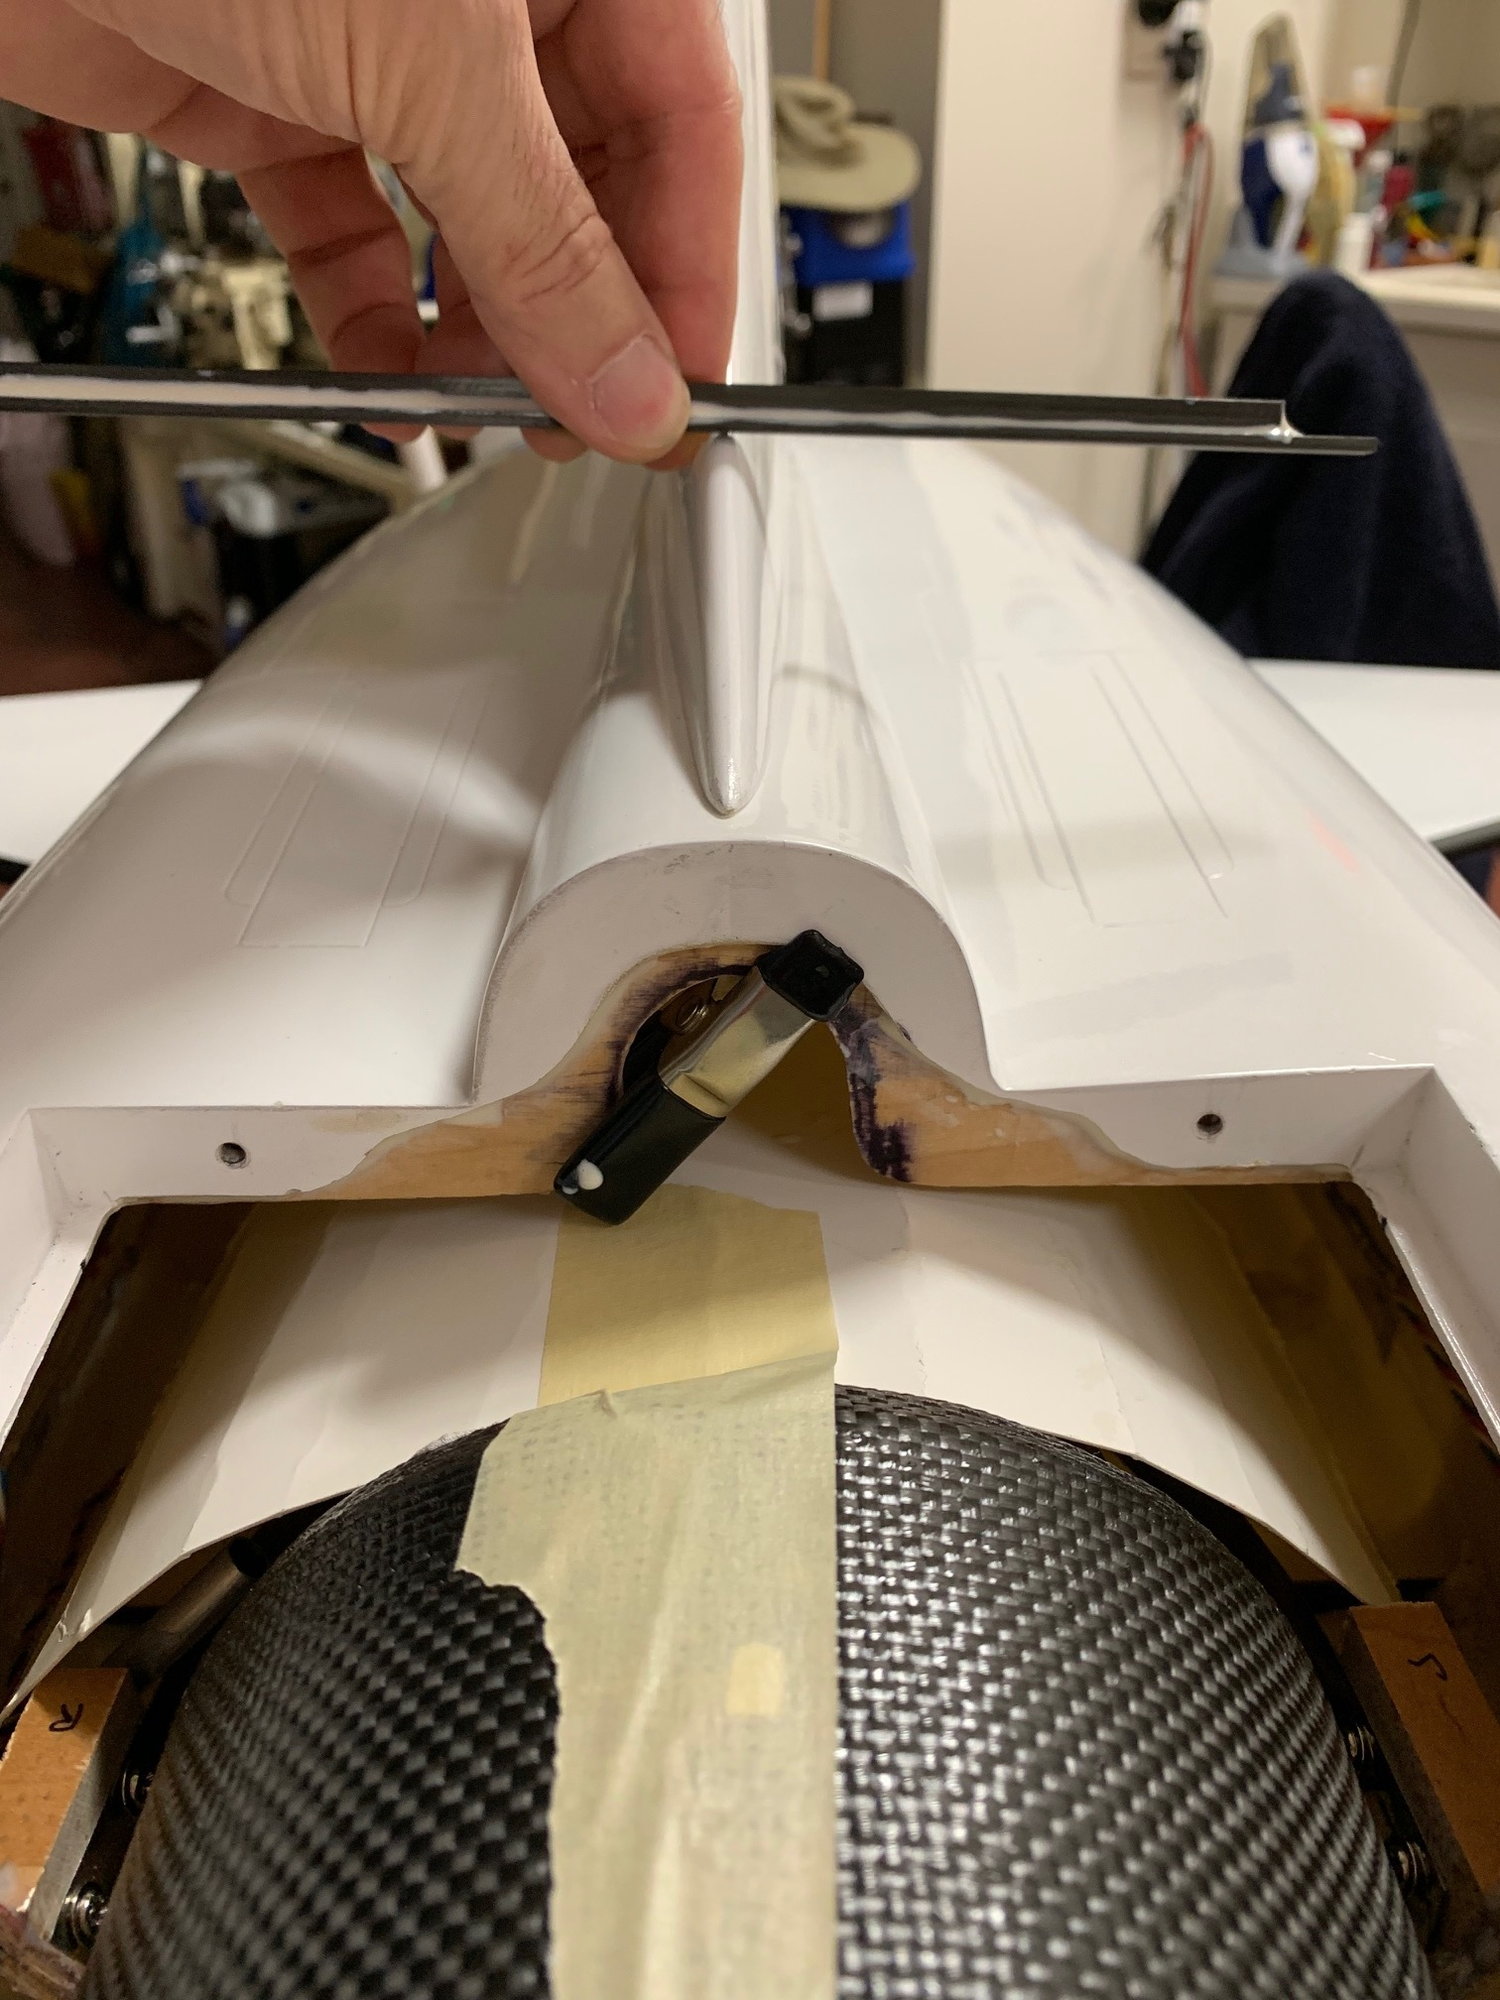
I will smooth out and paint this former when the epoxy dries. The holes for the engine cover pins may need to be re-drilled out to the proper size.
AEHaas
I decided to inset a plywood former here to reconstruct the bulkhead. I will also place a carbon fiber "T" bar a little further back on the inner top of the fuselage. It will be at the first pin of the tail fin. If I need to bore things out again for working on the tailpipe I now have a basis to bolt a cross member and restrengthen the bulkhead.
I will smooth out and paint this former when the epoxy dries. The holes for the engine cover pins may need to be re-drilled out to the proper size.
AEHaas
02-22-2019, 01:11 PM
#132
Thread Starter
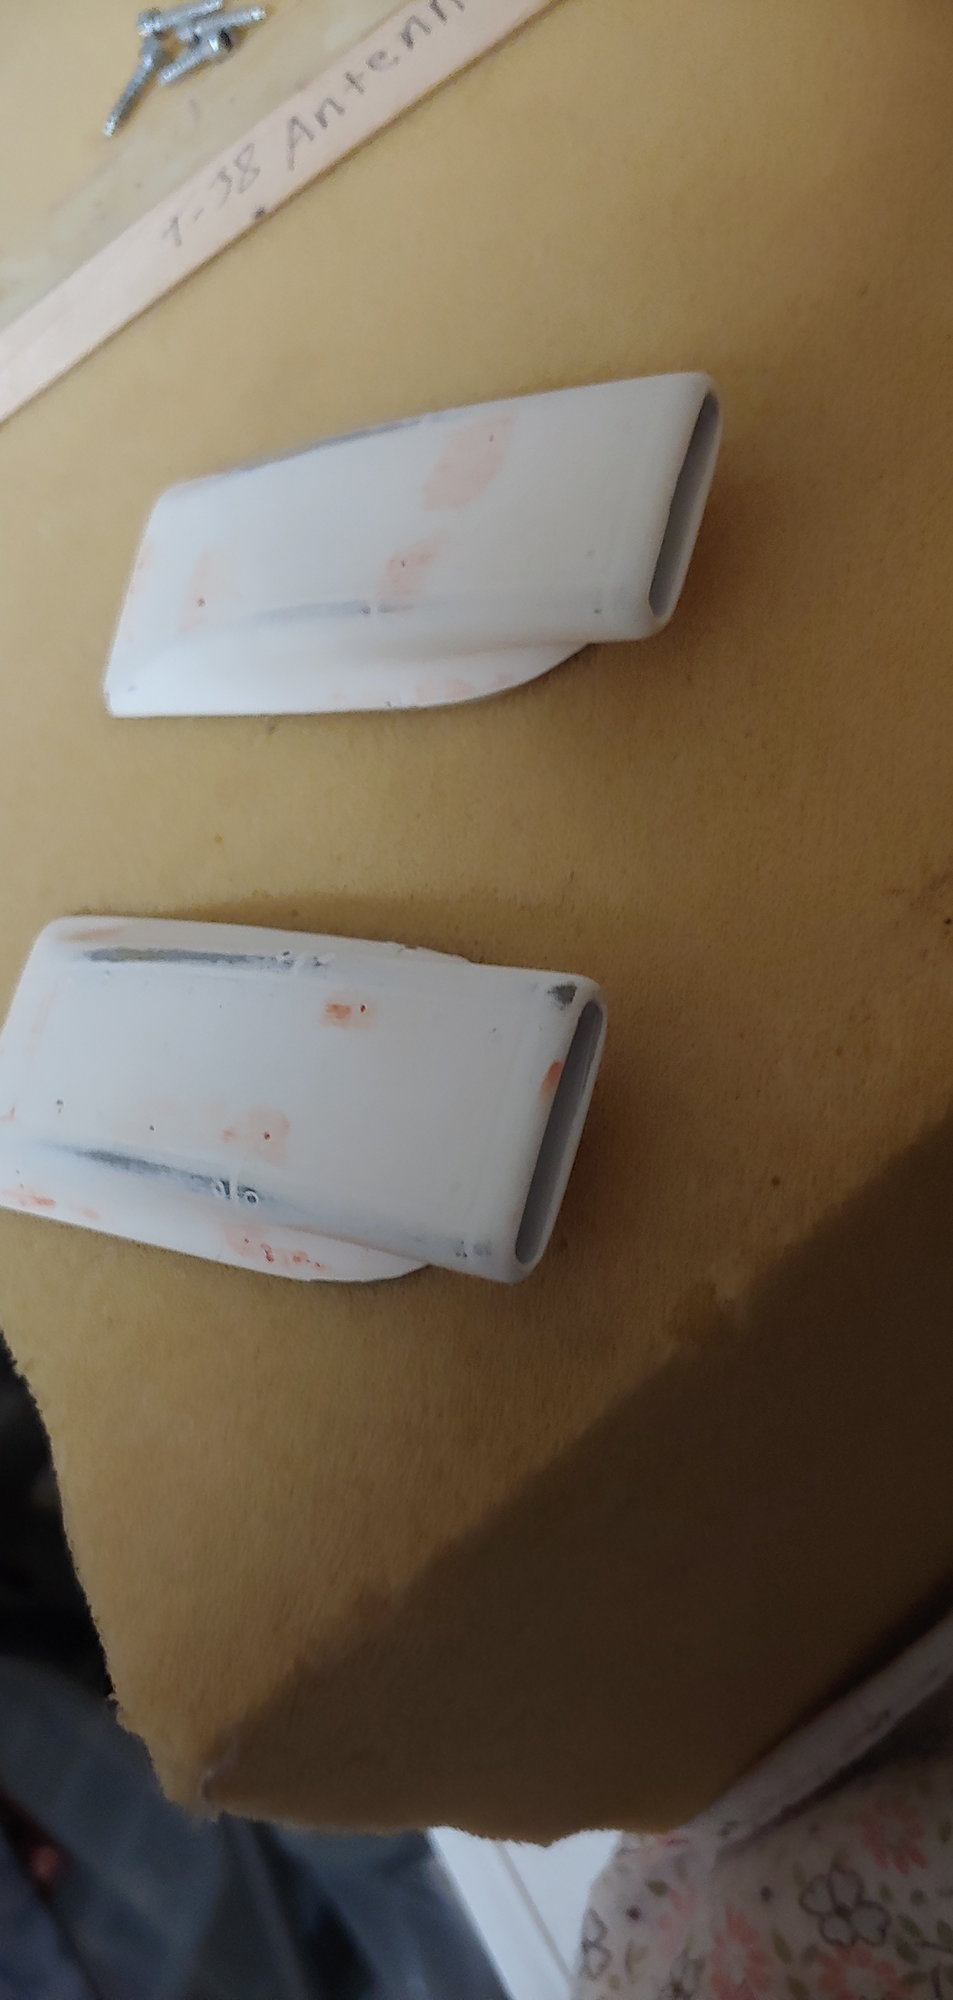
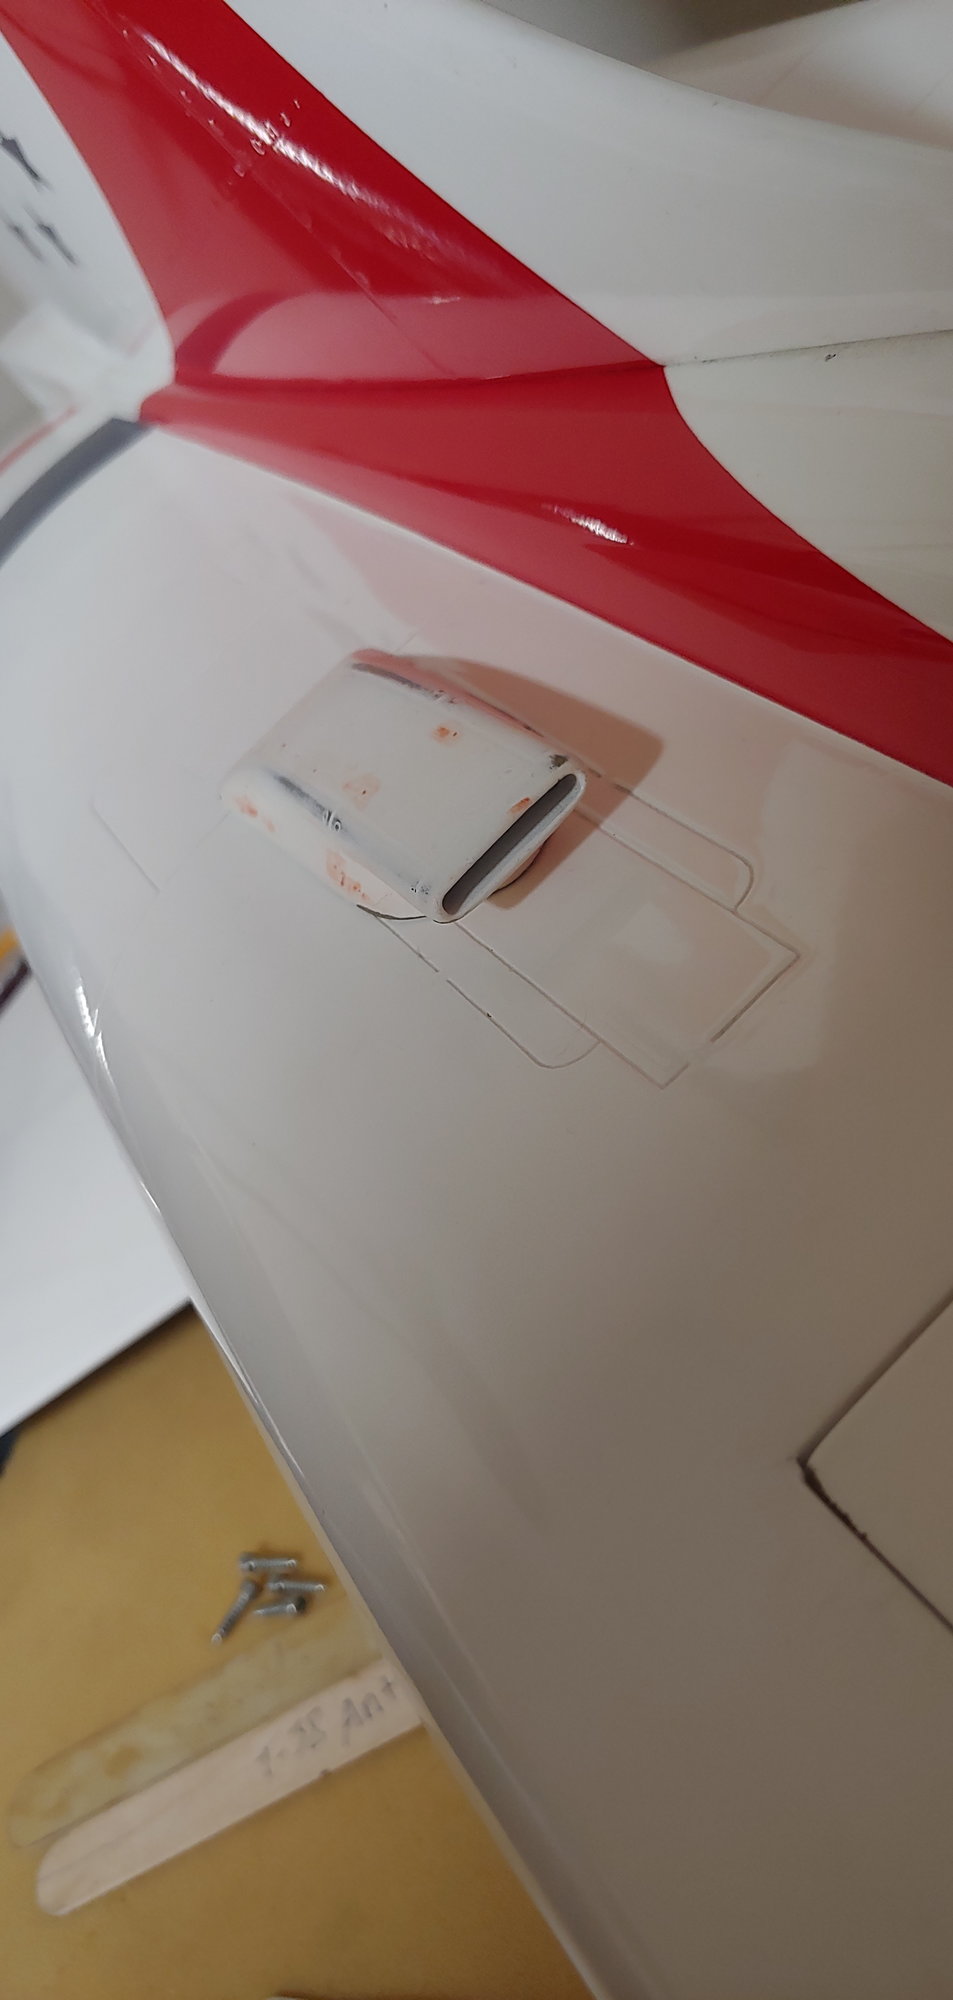
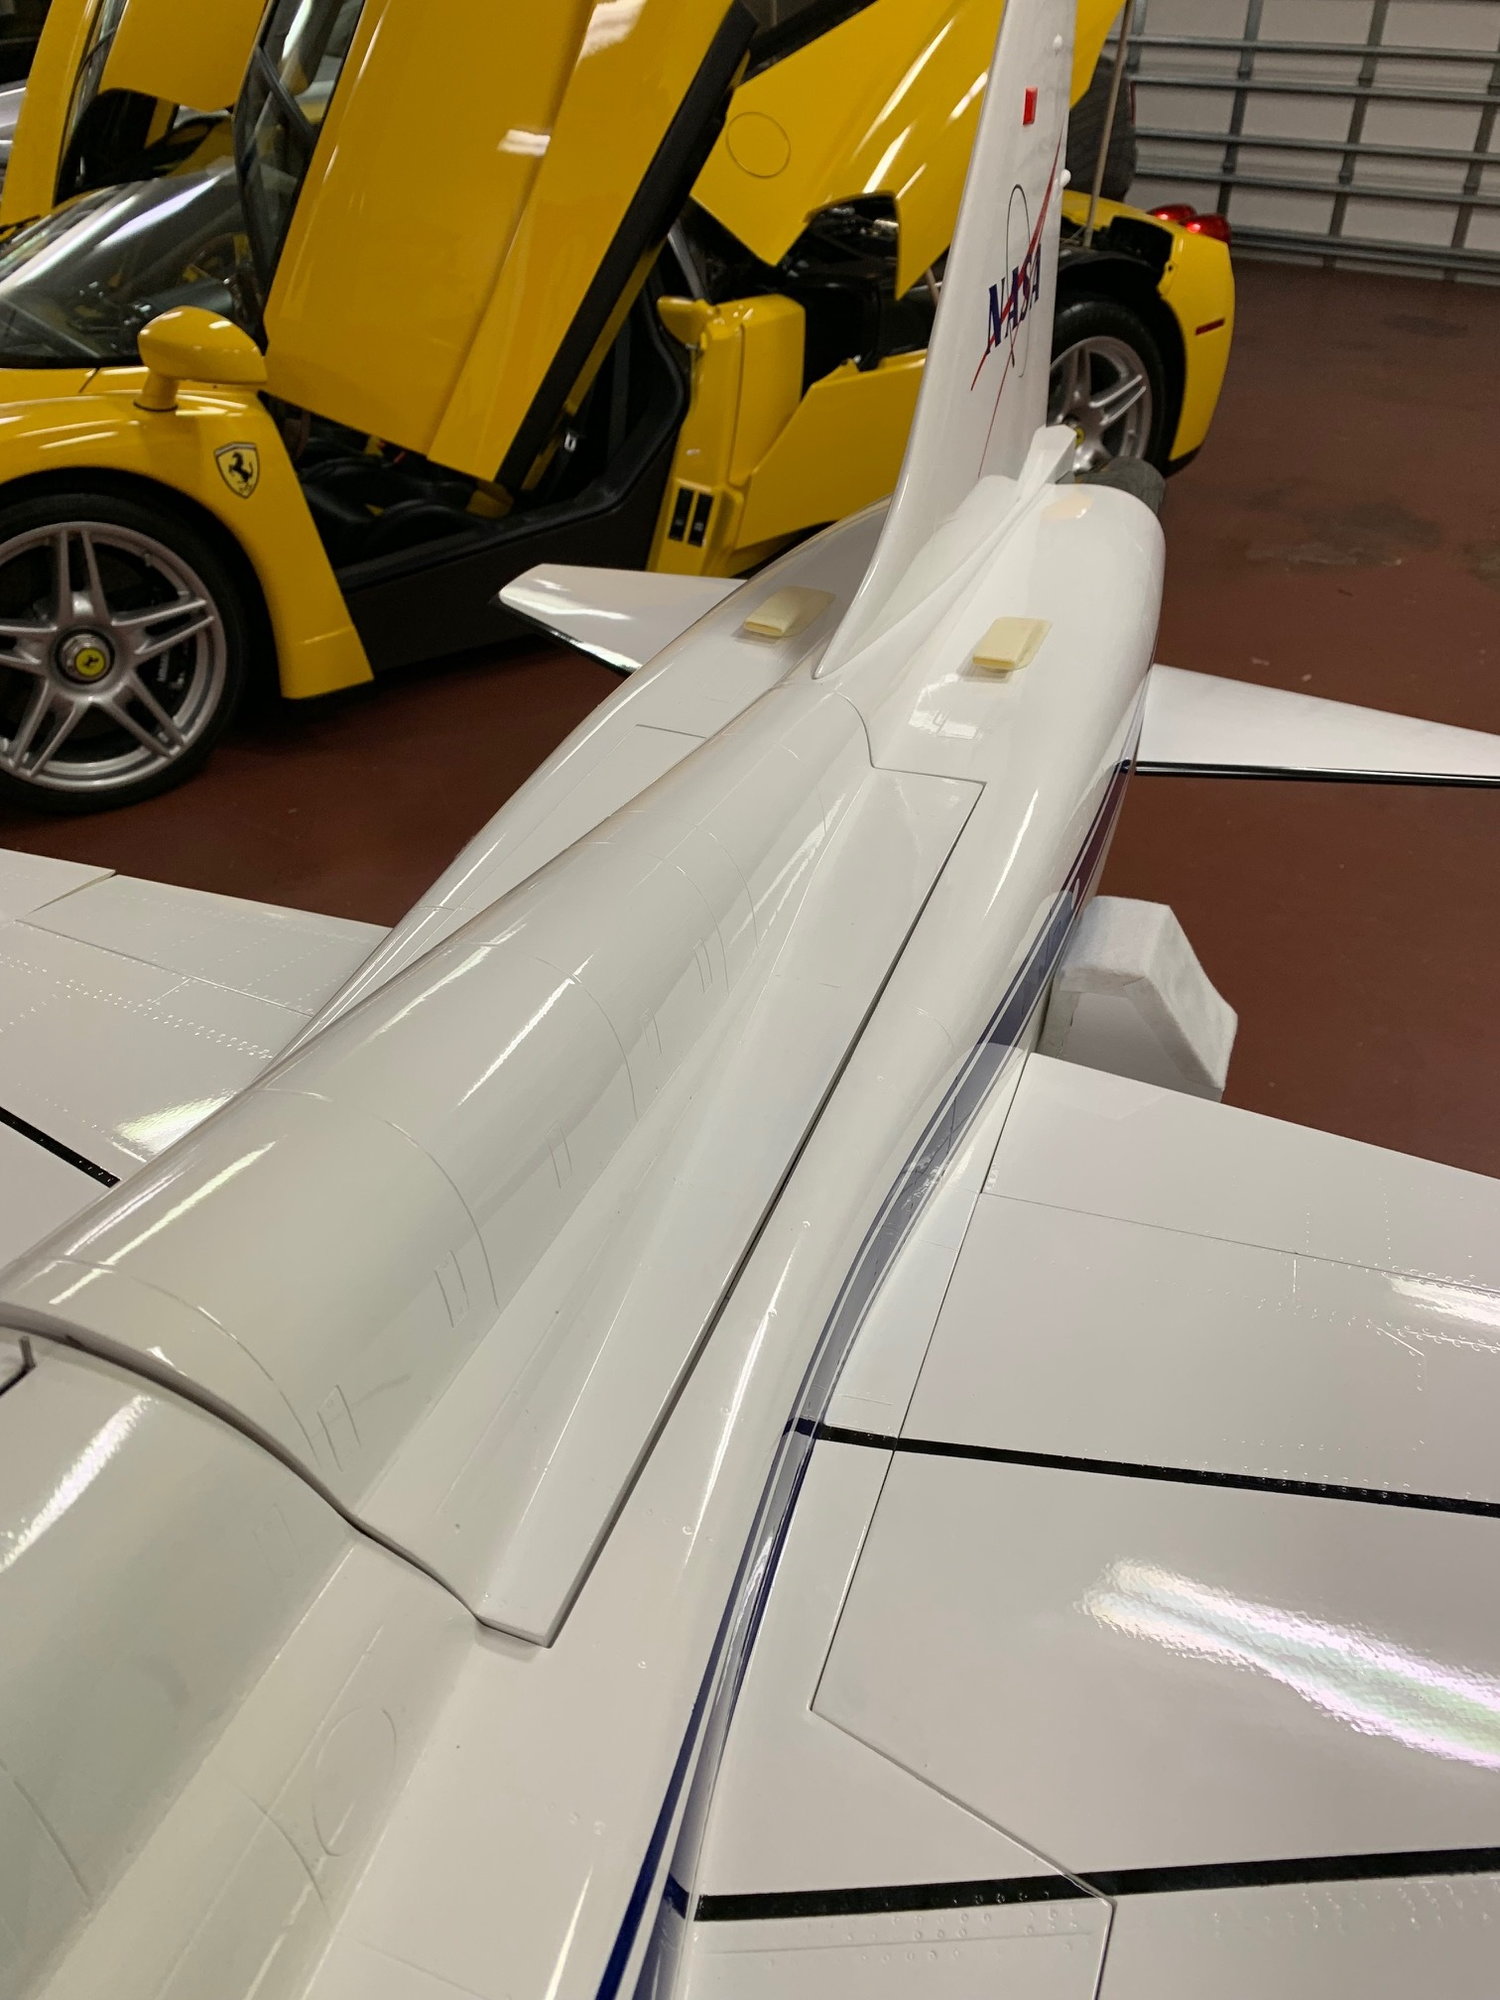
As suggested by Dave above, I obtained the air scoops from Bob Fiorenze. Bob thought they might be too small as his model is not as big as this Skymaster version. I actually think the scoops are the perfect size:
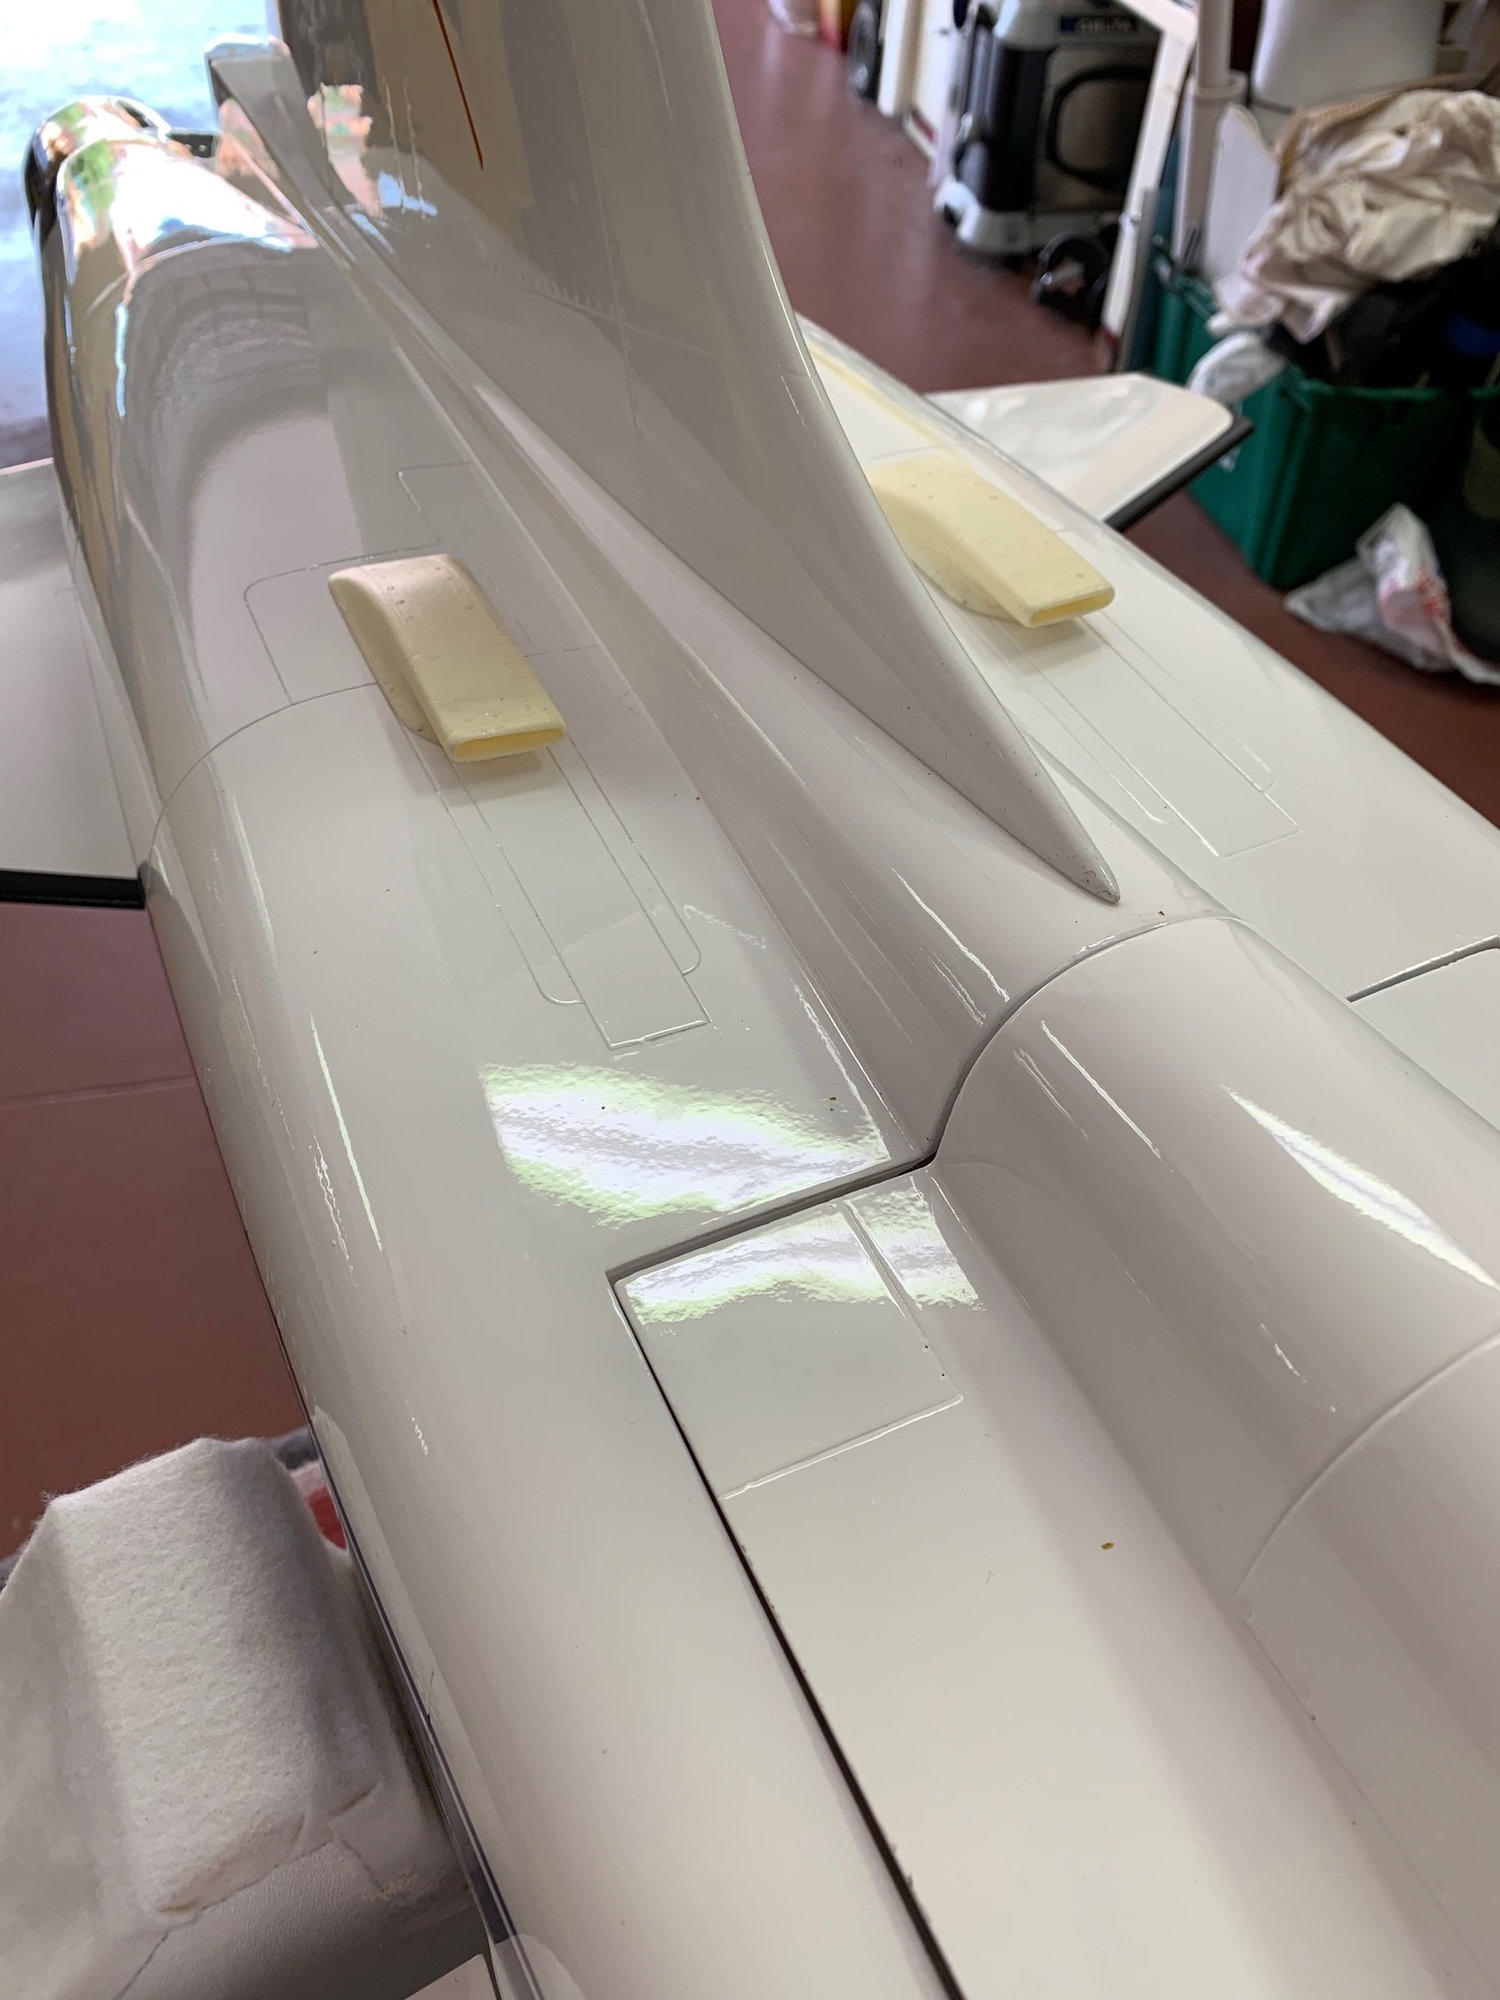
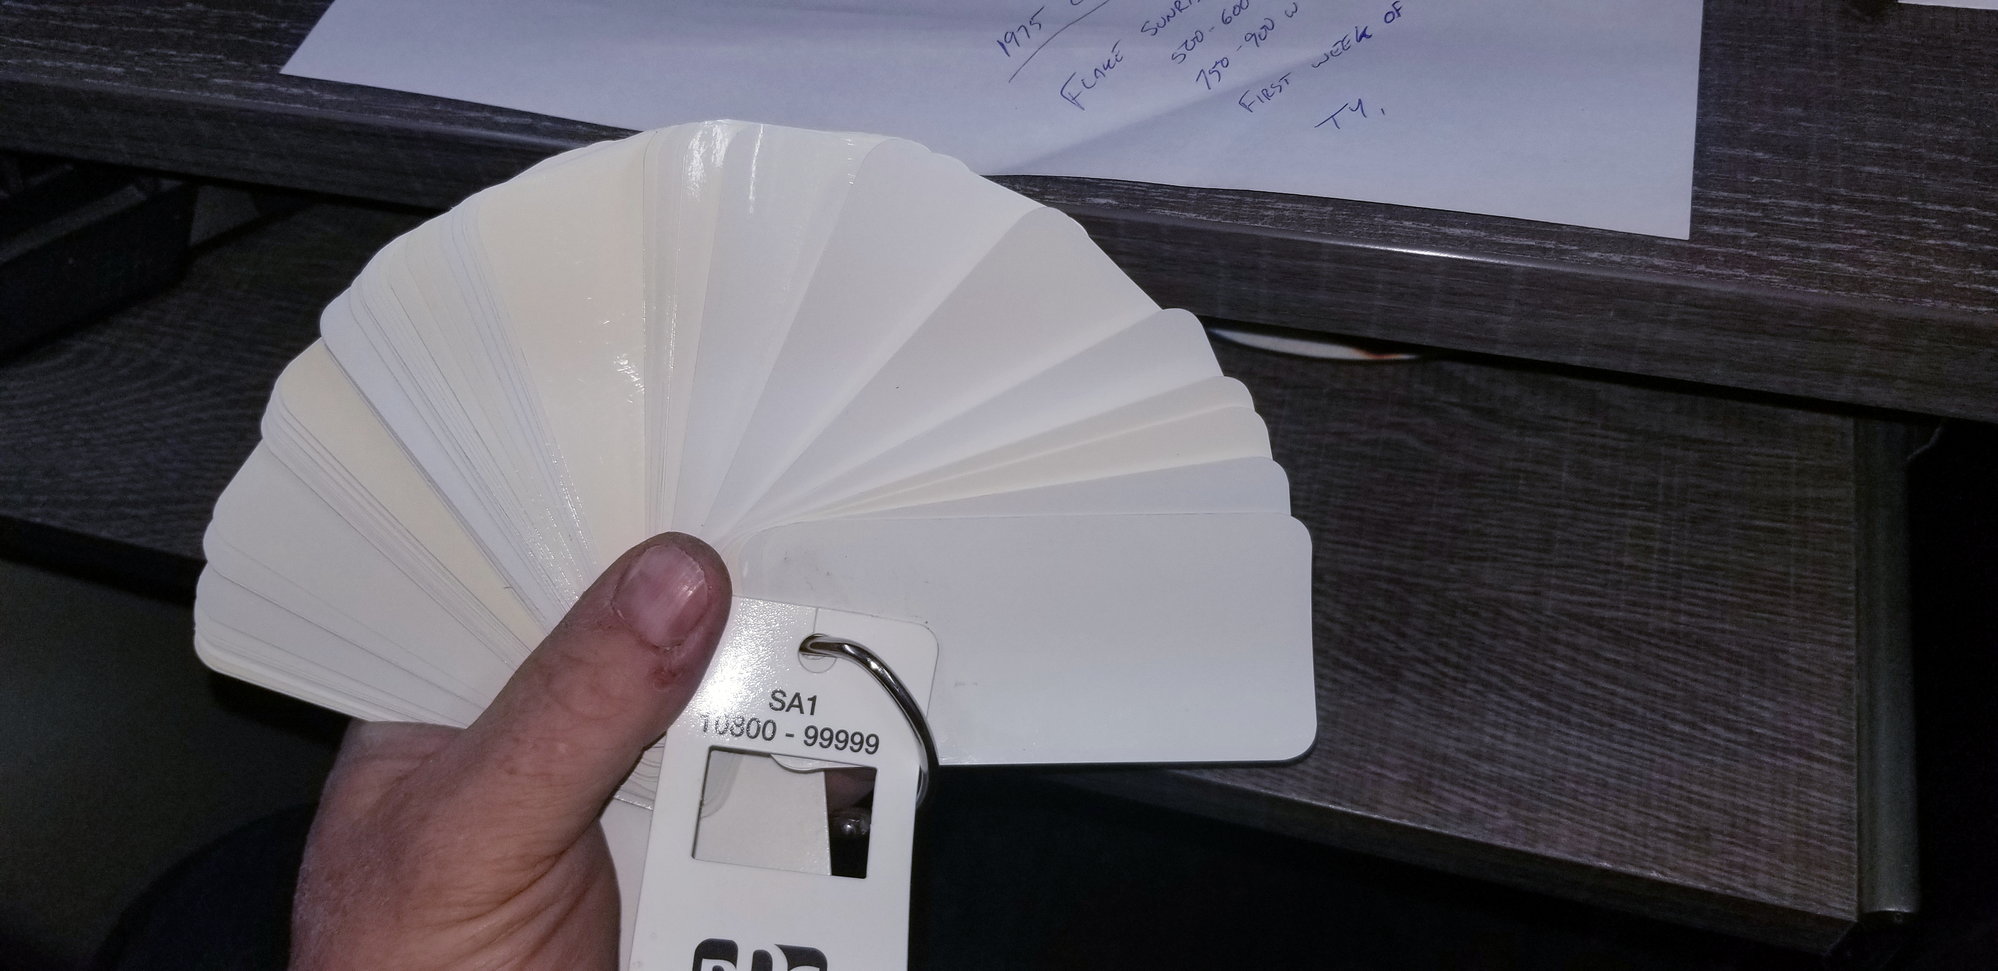
The trouble I am having is matching the white of the plane. It is so very white that I cannot find anything that white. Well, you know what I mean. I may ask the people over at Skymaster what they use.
AEHaas
Pay no attention to the car. I am just doing my yearly wax and leather care while the weather is "cool".
02-22-2019, 03:59 PM
#134


The paint as far as I know is a base / clear polyurethane. Take a sample piece into an autobody paint supply place and ask for a white variant deck. Go through the color chips until you find the white you want. Some whites actually look like a brighter white when a certain yellow or blue toner is added. This may only be 1 gram in 1000grams of white but it changes the look entirely.
 02-22-2019, 05:54 PM
#137
Thread Starter
Yes. Unfortunately my wife insists we get a smaller house so we are parting with all our sports cars. She wanted me to "clean it up" but it always looks as it does, showroom ready. Sad.

The people who know me are aware that I use the back deck of the car as part of my work area. Covered with towels it extends my work bench for "clean" parts as a finished wing or other sections. I am known locally as the guy with the most expensive work bench. Of course the wife hates this use of the car.
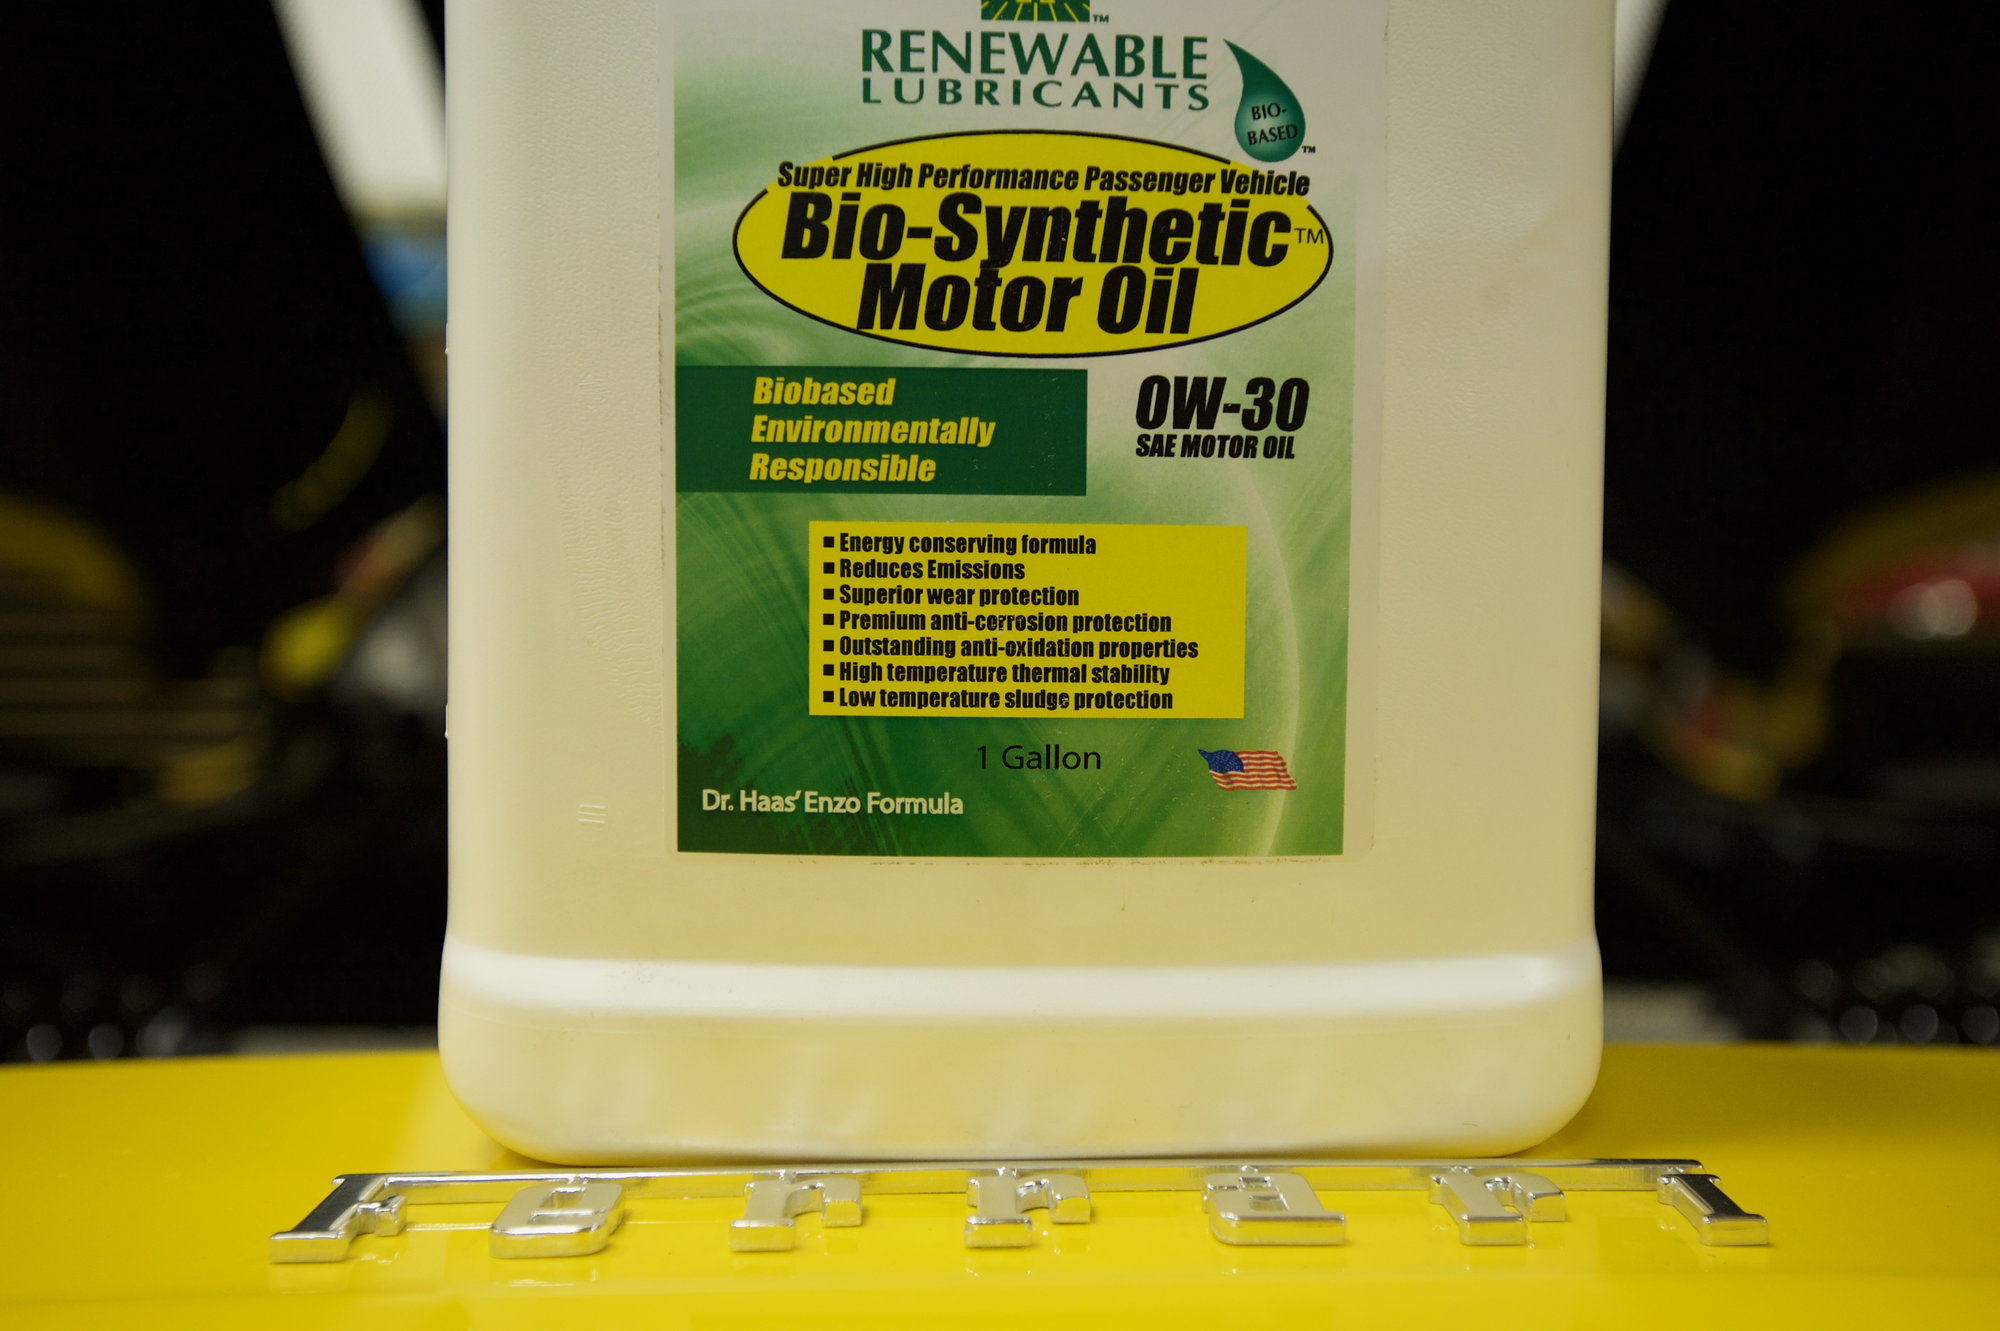
I used to be heavily into the oil industry and helped develop my own oil. As you can see by what I have done with this model, it often has to be My Way:
AEHaas
The people who know me are aware that I use the back deck of the car as part of my work area. Covered with towels it extends my work bench for "clean" parts as a finished wing or other sections. I am known locally as the guy with the most expensive work bench. Of course the wife hates this use of the car.
I used to be heavily into the oil industry and helped develop my own oil. As you can see by what I have done with this model, it often has to be My Way:
AEHaas
02-22-2019, 06:26 PM
#138
My Feedback: (4)
As suggested by Dave above, I obtained the air scoops from Bob Fiorenze. Bob thought they might be too small as his model is not as big as this Skymaster version. I actually think the scoops are the perfect size:
The trouble I am having is matching the white of the plane. It is so very white that I cannot find anything that white. Well, you know what I mean. I may ask the people over at Skymaster what they use.
AEHaas
Pay no attention to the car. I am just doing my yearly wax and leather care while the weather is "cool".
Take something from the plane with the color you need over to the Sherwin Williams Automotive paint store on 17th street. They do a great job of matching paint colors. I had to touch up the paint on my T1 and took the nose gear door over to them and they were able to match the paint perfectly. Good luck.
Patrick
03-01-2019, 11:05 AM
#140
Thread Starter
Today I was able to go to the field. If all went well I was going to fly the maiden.
Power and tracking down the runway was excellent. Braking seemed well enough by spinning the tires on the bench but was not strong enough to stop the plane at speed. I will need to figure this one out as our runway is relatively short.
Power and tracking down the runway was excellent. Braking seemed well enough by spinning the tires on the bench but was not strong enough to stop the plane at speed. I will need to figure this one out as our runway is relatively short.

 03-02-2019, 11:40 AM
#145
Thread Starter
I performed the maiden today despite not having the best of conditions (south cross wind and a little gusty). Only one of the other jet guys flew his plane. I took off without any flaps as they can be set wrong or way off and can hurt you. The best way to take off on a maiden is have the brakes on, run up the engine then get going as fast as you can. I of course did a taxi test to be sure I would track straight yesterday. I had plenty of power and speed and rotated with ease. Some thought this could be an issue. But having most of my fuel centered over the CG helped from starting off too nose heavy.
The elevator was way too sensitive however. And I got going too fast in reality, was doing 150 in no time. I switched to the lower elevator rates and even then it might be a hair too much. Time will tell with this one. I usually have about 15-20 % expo, do not like too much. The ailerons were just a few clicks to the left. The plane is slightly right side heavy as there is one more piece of equipment there. When I balance things left to right that may eliminate the small amount of trim.
I had trouble with the gear, it needed to be cycled then worked fine. The small nose gear door that closes against the wind however did not close. Maybe I need a stronger servo here. I did a roll and it was about the right speed, maybe I will up it some. The good thing was it was a nice even roll (I think). I flew inverted and that was about where I like it showing that my balance is in the correct location for me. I like a little pushing on the elevator when inverted.
I then tried the Spektrum gyro for a short while and it seemed to be hooked up correctly, nothing indicated issues. I turned it off. You cannot trim a plane with the gyro on.
Next was the trimming of the take-off and landing flaps. I put my wheels down then hit the take-off flaps. The plane went up. According the the "old" instructions the rear of the horizontal stab should go up 5mm for take-off flaps. It should go up 10mm for landing flaps. I set it this way in the Flap settings. Was I surprised. I had to put in half of my trim for the take-off and all of my DOWN trim for my landing flaps. What they said was the opposite of what was needed. The flaps make the plane climb and the elevator needs to send the plane down to compensate.
What have others seen in this adjustment?
Anyway, the landing was not clean but did the trick and the plane stopped fine.
Someone took a video so maybe later it will be up on his web site and I will get the link.
AEHaas
03-02-2019, 03:34 PM
#148
I performed the maiden today despite not having the best of conditions (south cross wind and a little gusty). Only one of the other jet guys flew his plane. I took off without any flaps as they can be set wrong or way off and can hurt you. The best way to take off on a maiden is have the brakes on, run up the engine then get going as fast as you can. I of course did a taxi test to be sure I would track straight yesterday. I had plenty of power and speed and rotated with ease. Some thought this could be an issue. But having most of my fuel centered over the CG helped from starting off too nose heavy.
The elevator was way too sensitive however. And I got going too fast in reality, was doing 150 in no time. I switched to the lower elevator rates and even then it might be a hair too much. Time will tell with this one. I usually have about 15-20 % expo, do not like too much. The ailerons were just a few clicks to the left. The plane is slightly right side heavy as there is one more piece of equipment there. When I balance things left to right that may eliminate the small amount of trim.
I had trouble with the gear, it needed to be cycled then worked fine. The small nose gear door that closes against the wind however did not close. Maybe I need a stronger servo here. I did a roll and it was about the right speed, maybe I will up it some. The good thing was it was a nice even roll (I think). I flew inverted and that was about where I like it showing that my balance is in the correct location for me. I like a little pushing on the elevator when inverted.
I then tried the Spektrum gyro for a short while and it seemed to be hooked up correctly, nothing indicated issues. I turned it off. You cannot trim a plane with the gyro on.
Next was the trimming of the take-off and landing flaps. I put my wheels down then hit the take-off flaps. The plane went up. According the the "old" instructions the rear of the horizontal stab should go up 5mm for take-off flaps. It should go up 10mm for landing flaps. I set it this way in the Flap settings. Was I surprised. I had to put in half of my trim for the take-off and all of my DOWN trim for my landing flaps. What they said was the opposite of what was needed. The flaps make the plane climb and the elevator needs to send the plane down to compensate.
What have others seen in this adjustment?
Anyway, the landing was not clean but did the trick and the plane stopped fine.
Someone took a video so maybe later it will be up on his web site and I will get the link.
AEHaas
The elevator was way too sensitive however. And I got going too fast in reality, was doing 150 in no time. I switched to the lower elevator rates and even then it might be a hair too much. Time will tell with this one. I usually have about 15-20 % expo, do not like too much. The ailerons were just a few clicks to the left. The plane is slightly right side heavy as there is one more piece of equipment there. When I balance things left to right that may eliminate the small amount of trim.
I had trouble with the gear, it needed to be cycled then worked fine. The small nose gear door that closes against the wind however did not close. Maybe I need a stronger servo here. I did a roll and it was about the right speed, maybe I will up it some. The good thing was it was a nice even roll (I think). I flew inverted and that was about where I like it showing that my balance is in the correct location for me. I like a little pushing on the elevator when inverted.
I then tried the Spektrum gyro for a short while and it seemed to be hooked up correctly, nothing indicated issues. I turned it off. You cannot trim a plane with the gyro on.
Next was the trimming of the take-off and landing flaps. I put my wheels down then hit the take-off flaps. The plane went up. According the the "old" instructions the rear of the horizontal stab should go up 5mm for take-off flaps. It should go up 10mm for landing flaps. I set it this way in the Flap settings. Was I surprised. I had to put in half of my trim for the take-off and all of my DOWN trim for my landing flaps. What they said was the opposite of what was needed. The flaps make the plane climb and the elevator needs to send the plane down to compensate.
What have others seen in this adjustment?
Anyway, the landing was not clean but did the trick and the plane stopped fine.
Someone took a video so maybe later it will be up on his web site and I will get the link.
AEHaas
03-03-2019, 03:55 AM
#150
Thread Starter
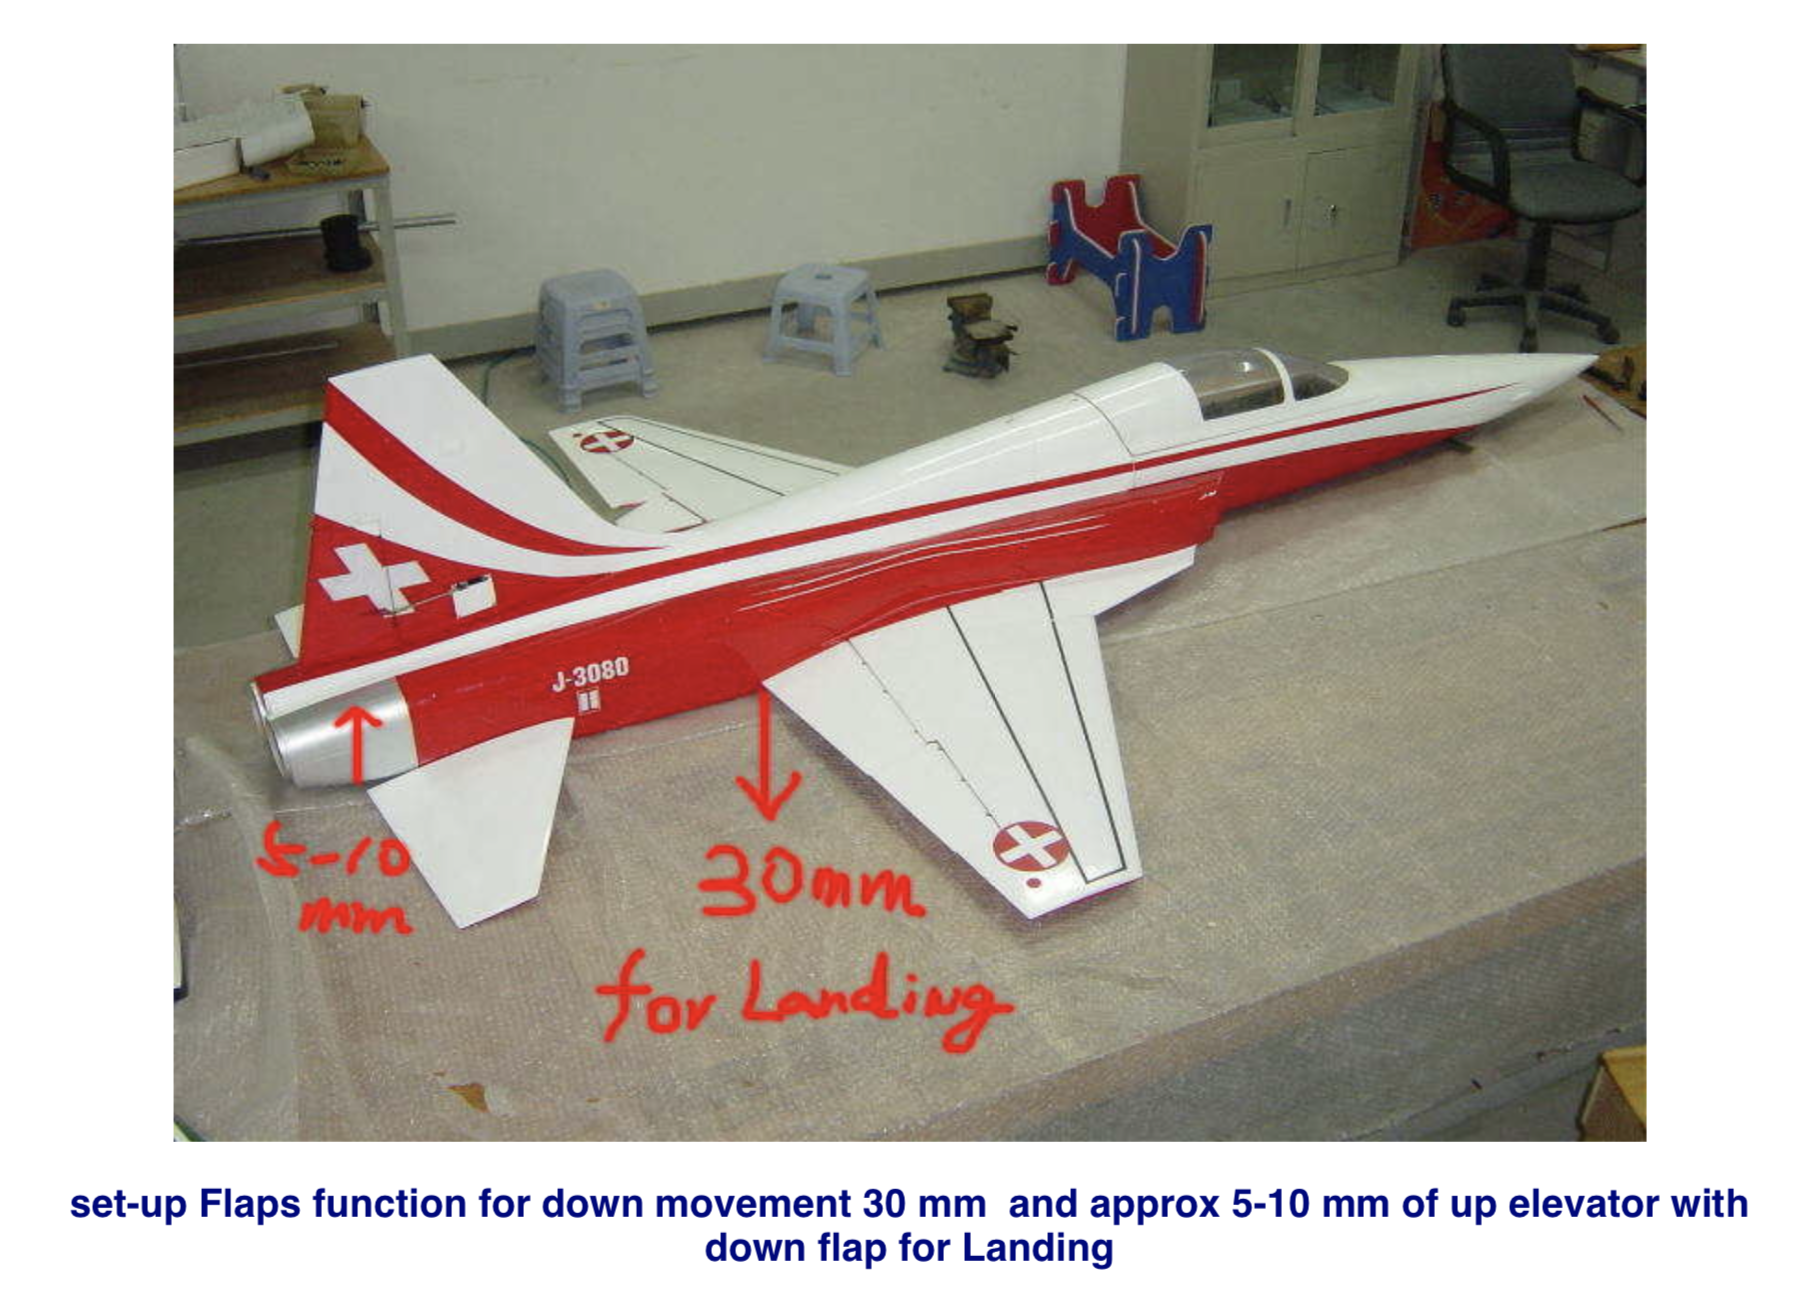
I had about 8-10mm up elevator dialed into the flap settings when I actuated the flaps. Since down elevator was needed I was WAY off.
AEHaas
Last edited by aehaas; 03-03-2019 at 04:03 AM.