Balsa USA Stingray 120 detailed build
 10-27-2016, 05:18 AM
#1

Thread Starter
After completing a scratch build of the Cloud Dancer 120, I was too lazy to cut another scratch built. Therefore, I decided to build a kit.
I wanted something "sporty", which will be my "throw-around" aeroplane. The Balsa USA Stingray 120 looked interesting to me, kind of "retro" shape.
I unboxed the kit at the end of January 2016, and test flew it ~10 days ago (16th October 2016), taking my time to build it.
I took many photos during the construction, which I hope will assist anybody considering building the kit, which I will rate as easy - intermediate level.
The parts fit was reasonably good, most materials supplied were good with the exception of the lite-ply being OK, but not good quality. The supplied hardware (clevises etc.) was of very good quality, mostly seems to be made by Sullivan (my guess).
Originally I planned to use MVVS 30cc engine, and therefore moved the Elevator and Rudder servos to the back. Later I changed my decision and ended up using the DLE 20 side exhaust, which provides plenty of power for my type of flying (no 3D...), but is much lighter.
I also changed the landing gear to CF due to personal preference, the supplied landing gear was of suitable quality.
Last, I mounted the Aileron servos inside the wing fully covered, again, personal preference.
I hope you enjoy the thread,
Eran
Last edited by erans; 10-27-2016 at 05:28 AM.

The following users liked this post:
aston70 (05-31-2023)
The following users liked this post:
Penwl77 (11-21-2022)
10-28-2016, 05:58 AM
#13

Join Date: Oct 2005
Location: Dublin,
VA
Posts: 1,181
Likes: 0
Received 0 Likes
on
0 Posts
Very nice looking build. I too, picked up the last Stingray 1.20 my local shop had over the summer and will save it for a rainy day. Whenever I do get around to building it, I will def. be using alum. gear and adding wheelpants and a canopy. Those couple of additions really bring this model to life in my opinion. I will be going gas for sure and either use a G26EI or an XYZ 20. Keep up the detailed build pics!!!!!!!!
10-28-2016, 06:15 AM
#14
Thread Starter
Thank you flygilmore. The beauty of building kits is that everyone can customise the model into a unique creation. This kit was very enjoyable to put together, so you should be looking forward for the rainy days.
These days, petrol engine are definitely the way to go. When you are building the fuel tank compartment, think ahead of your weight distribution. You will see in my photos that I ended up creating a hatch both top and bottom to allow me to install and maintain gear (batteries, switches, fuel dot) in this area.
Back to build photos, once the fin was done, it was time to get going with the fuselage construction:
10-29-2016, 09:40 PM
#19
Thread Starter
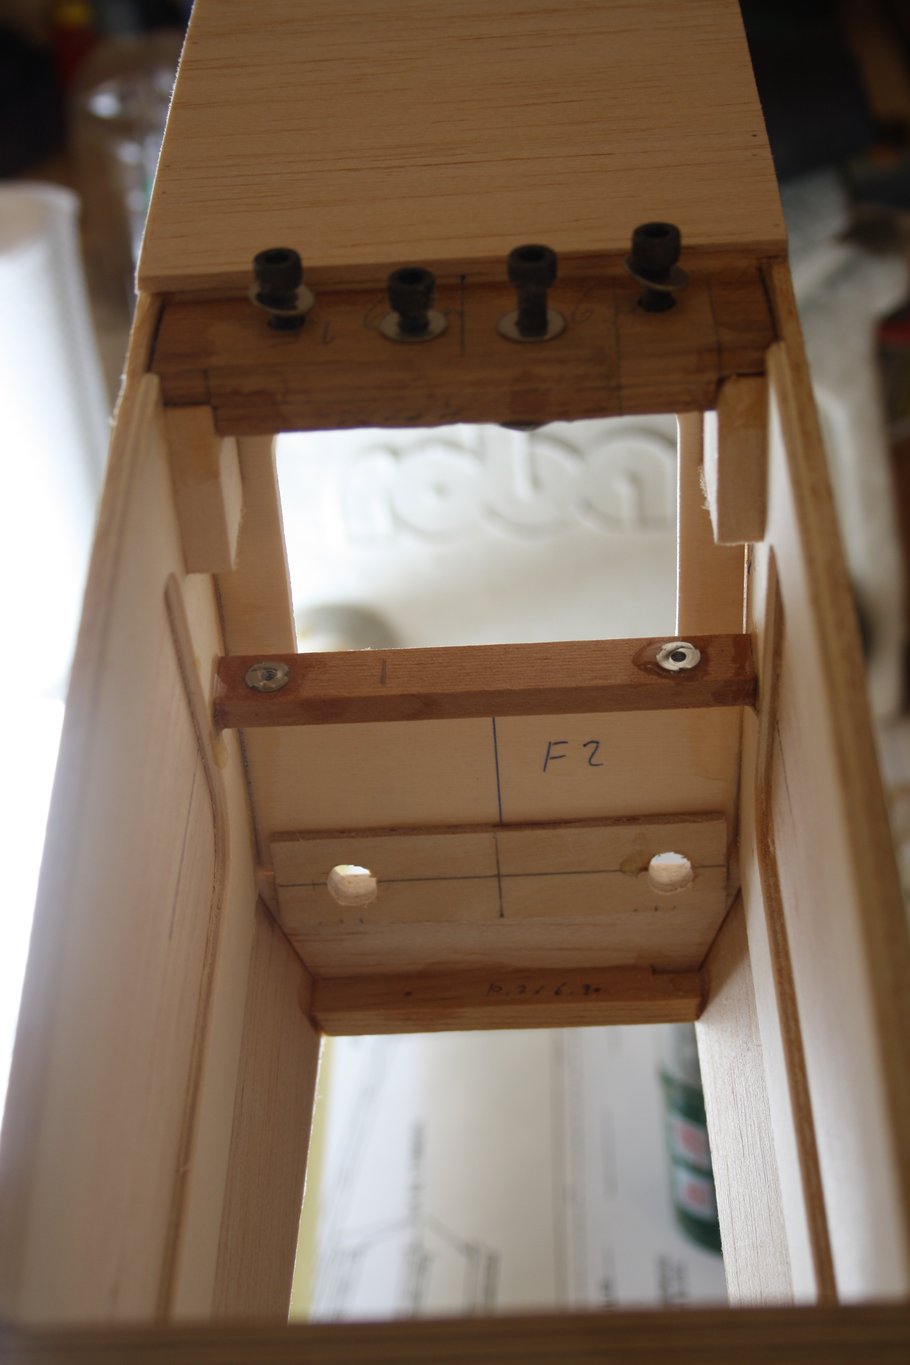
I was not happy with my own drilling into the wing supports (it was too close to the fuselage sides and made fitting the blind nuts impossible). I filled it with a dowel and re-drilled. In the process, I managed to shutter one of the basswood mounts, and it was replaced with spruce mount.
Then, I made a plywood reinforcement under both mounts as I was not comfortable that as designed they will be strong enough.
I used metal bolt to pull the blind nut into place. I also added thin plywood to the top side of the wing so the wing bolts won't crush the balsa T.E.


Then, I made a plywood reinforcement under both mounts as I was not comfortable that as designed they will be strong enough.
I used metal bolt to pull the blind nut into place. I also added thin plywood to the top side of the wing so the wing bolts won't crush the balsa T.E.
11-01-2016, 09:01 PM
#24
Thread Starter
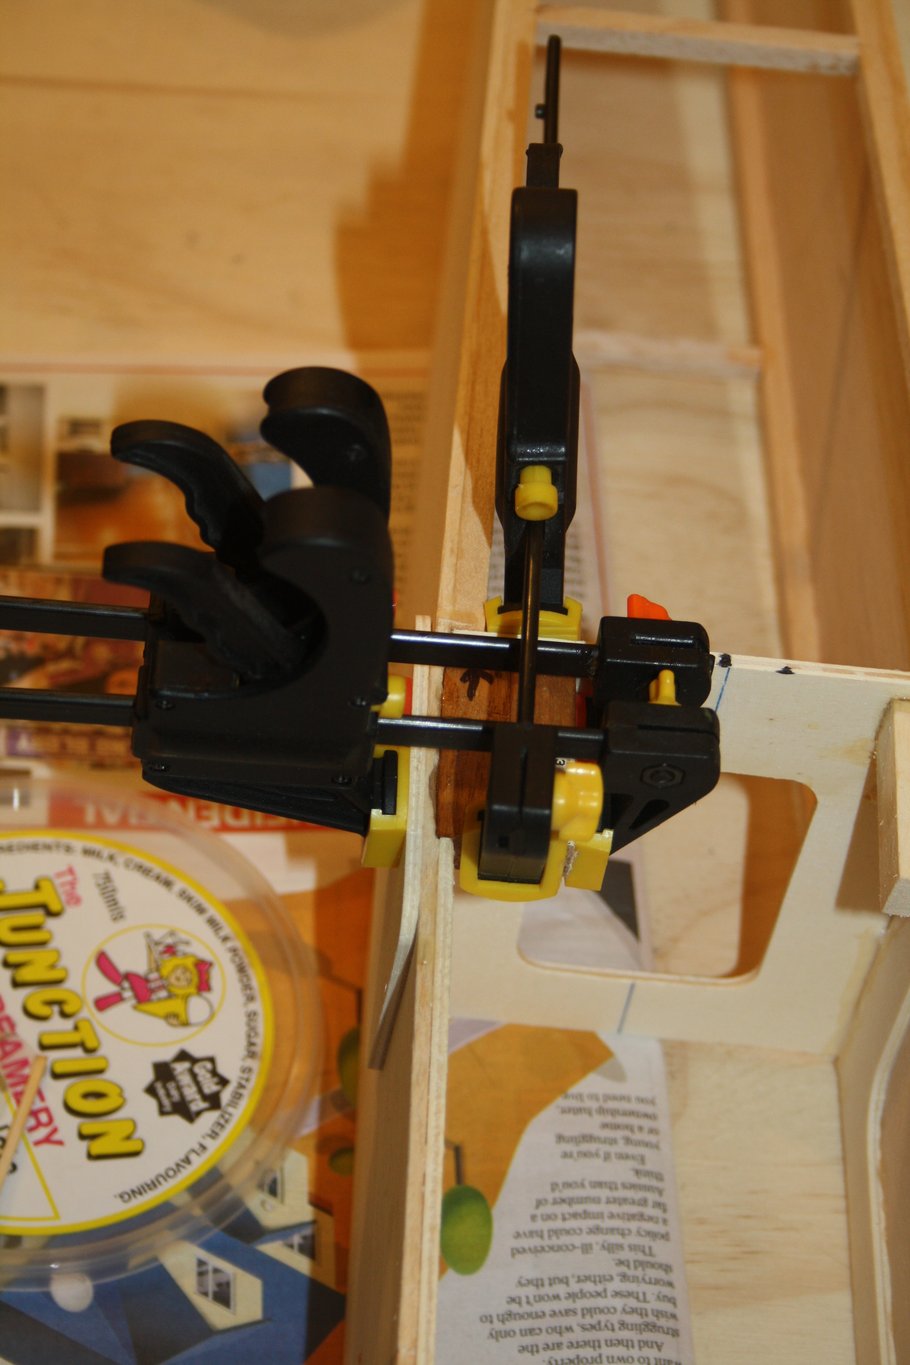
Installing doublers on the engine bay, "threading" strings to the servo bays (which on my aeroplane are in the tail), reinforcing the tail wheel area with plywood and sheeting the bottom


11-01-2016, 09:05 PM
#25
Thread Starter
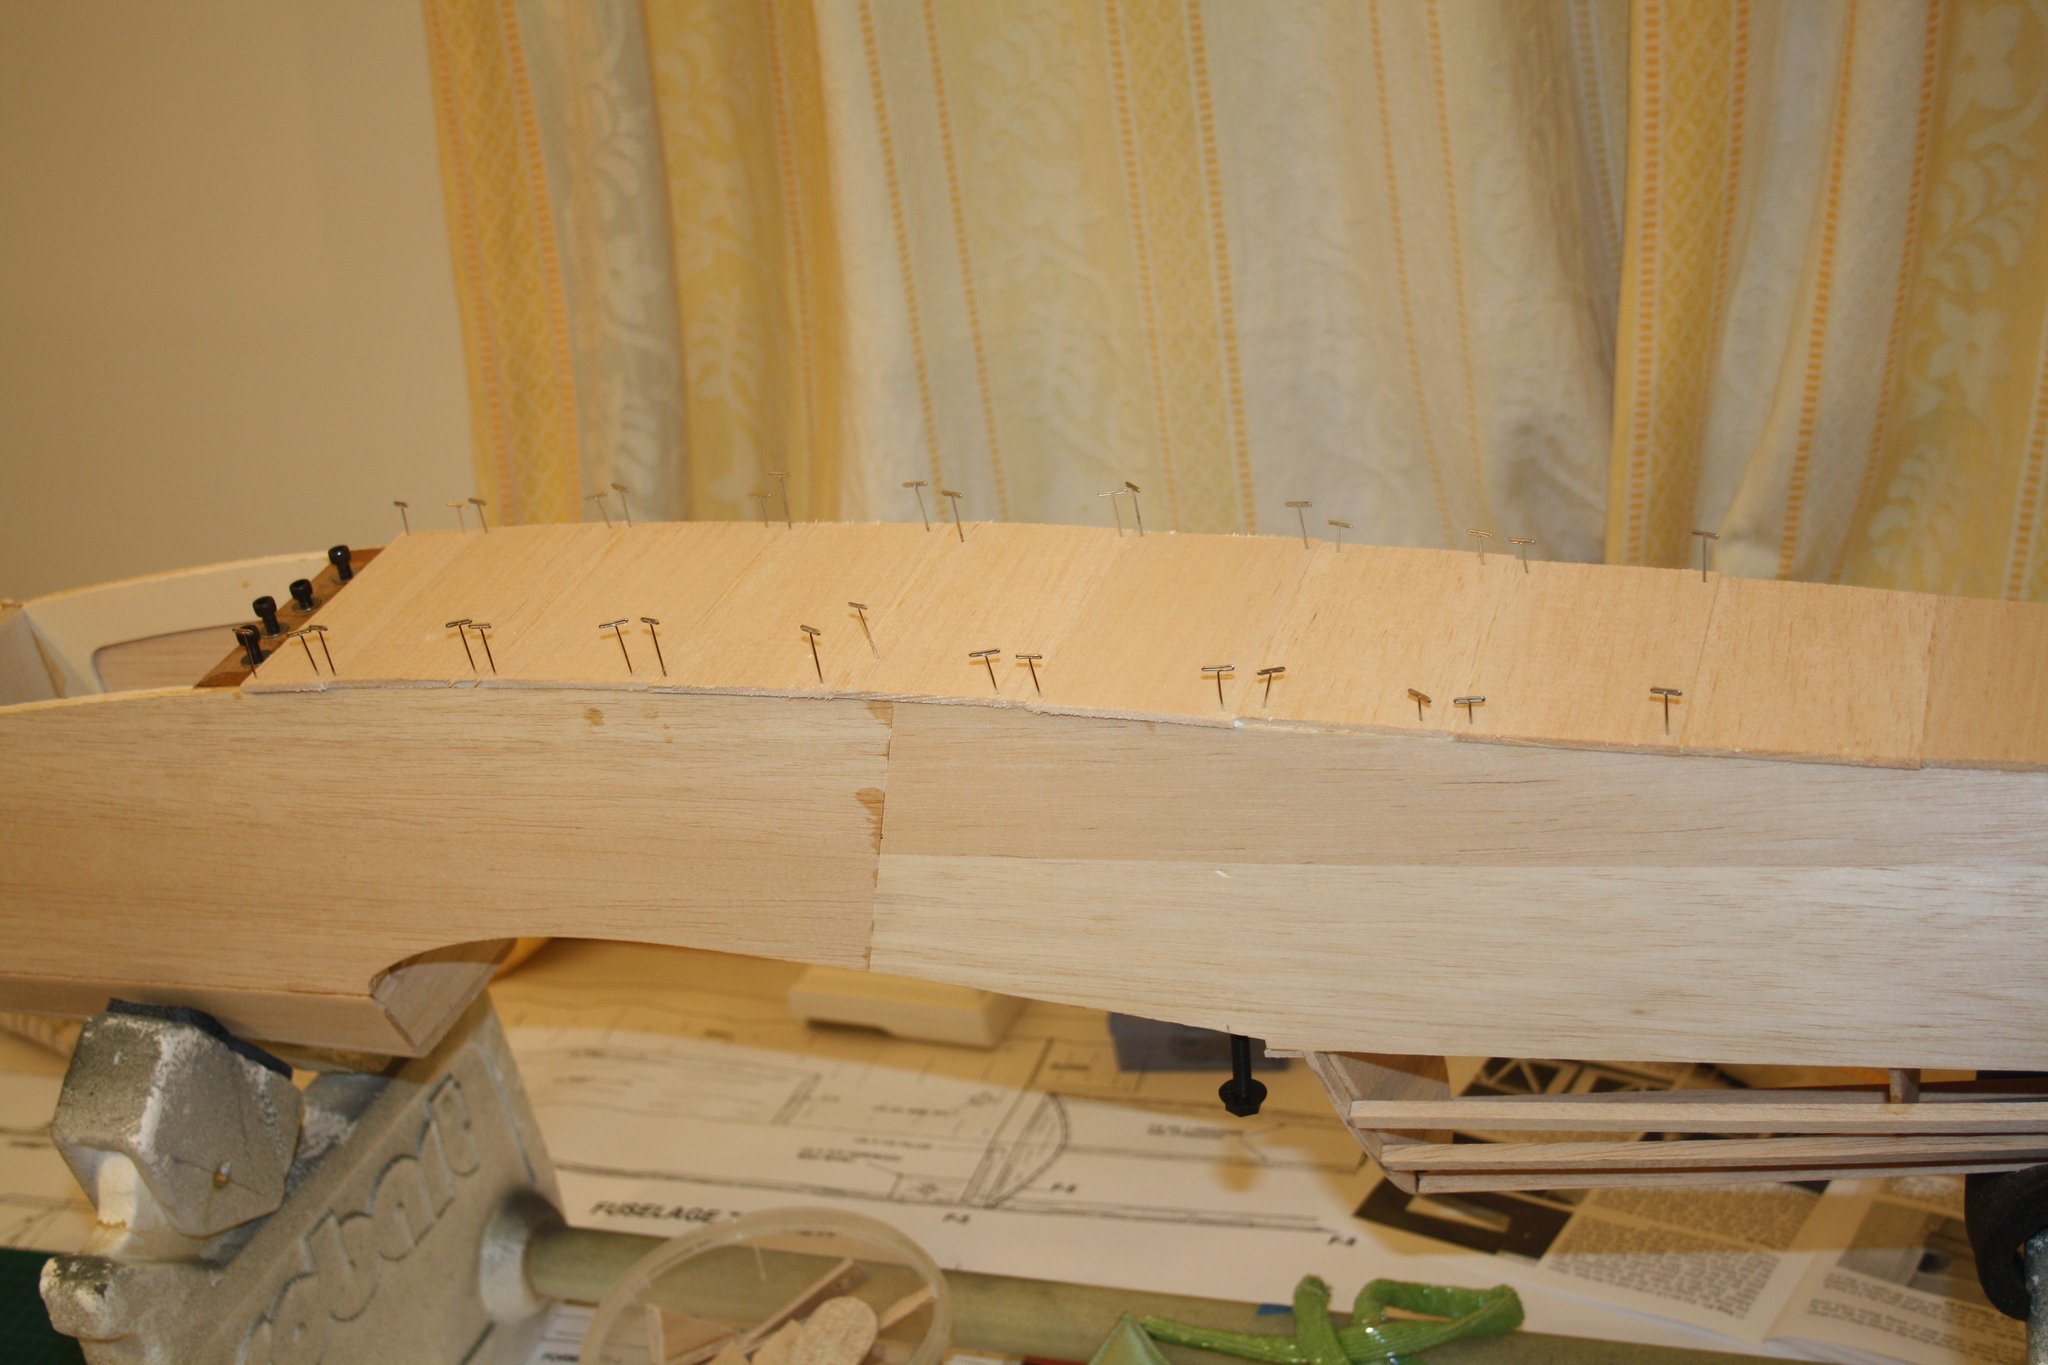
Making a removable fuel tank tray, "threading" strings to the servo bays in the wing, and using filler to fill the gap in the fuselage front section.